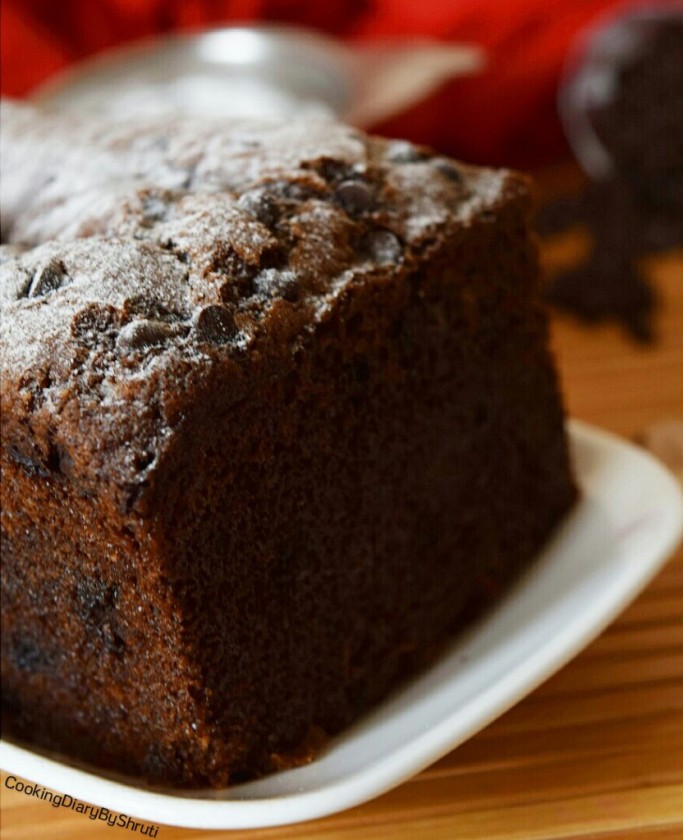
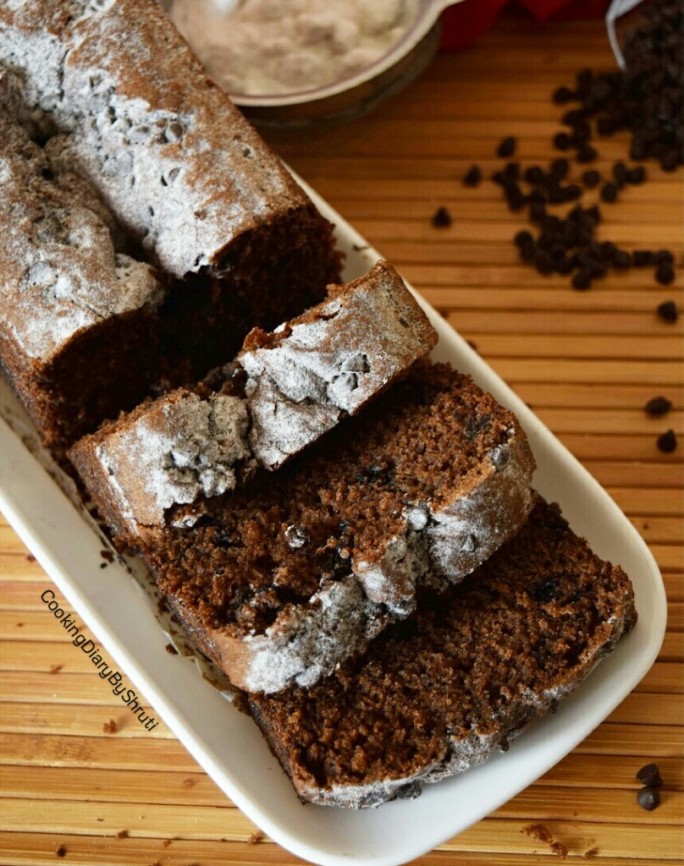
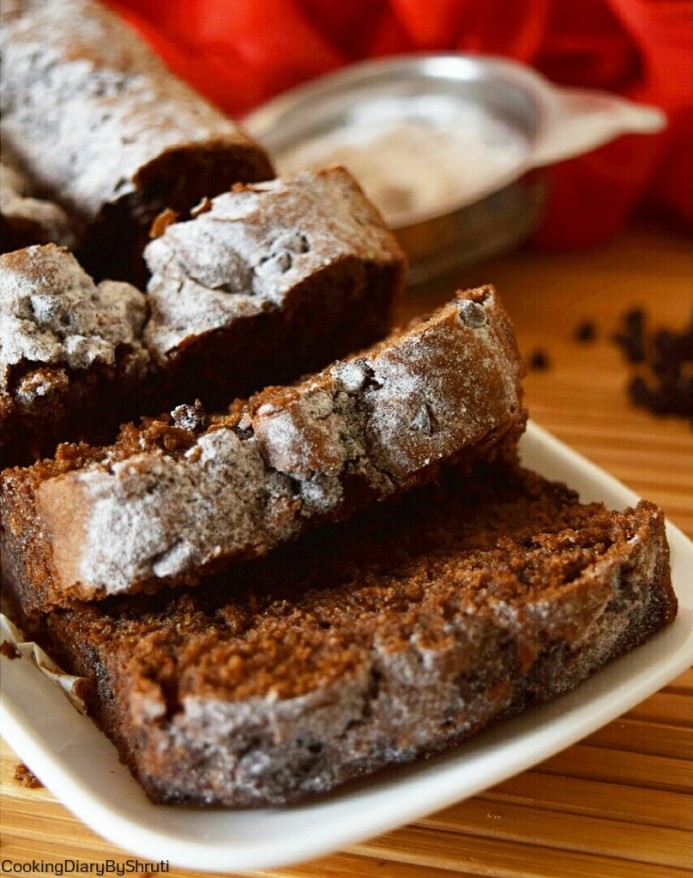
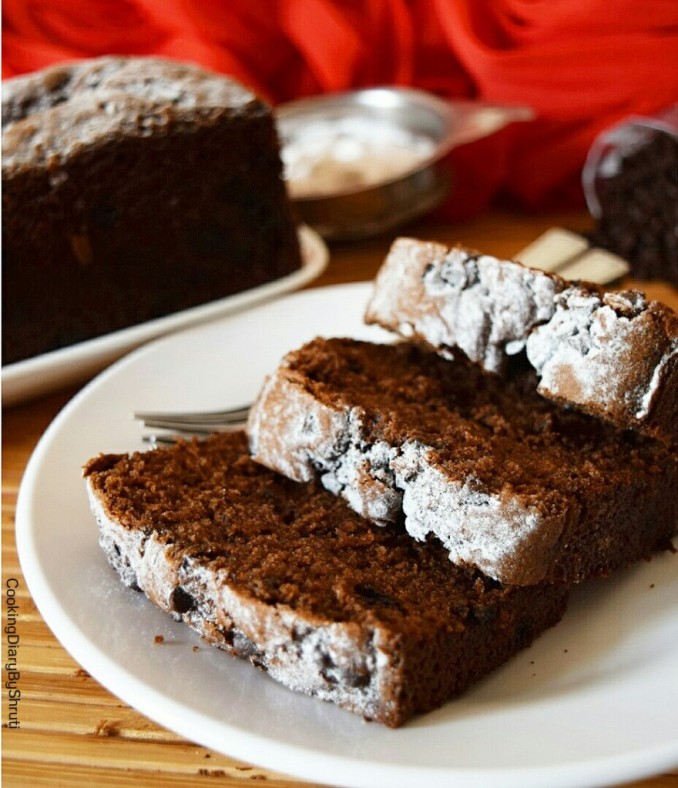
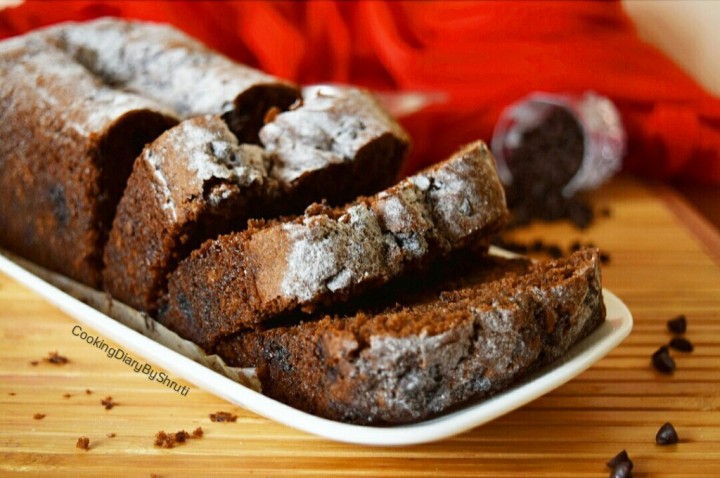
Dark Chocolate Loaf (Eggless)

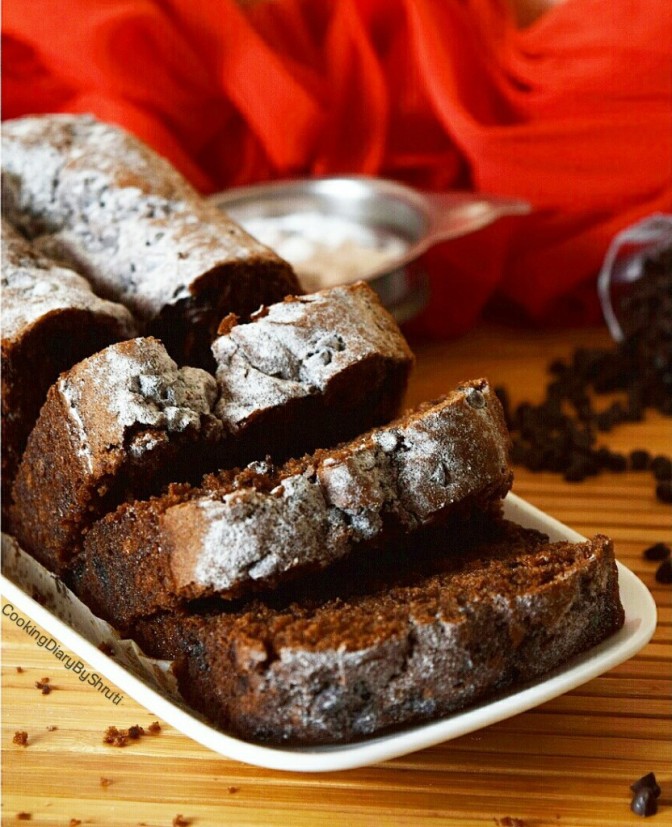
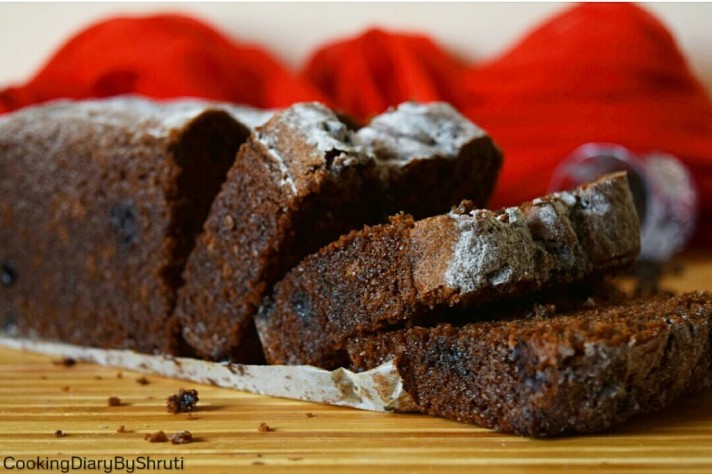
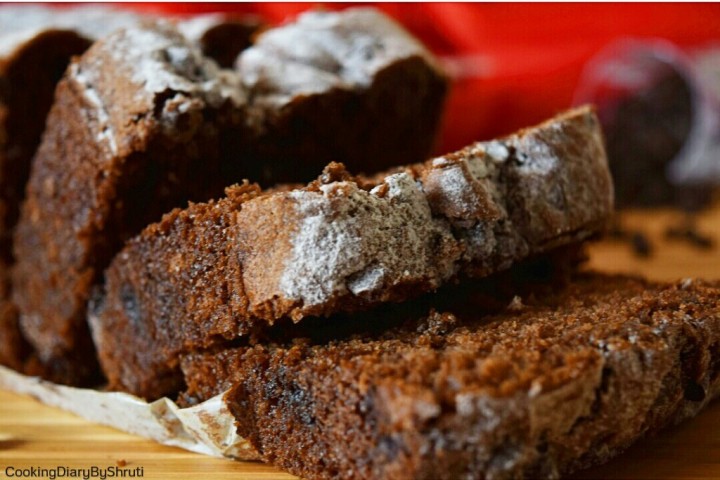
Those moments when your house is filled with the aroma of a chocolate loaf baking….are the moments I live for. This dark chocolate loaf is surely going to melt your hearts.

IMG_20150422_203203_wm

Hello Lovely Readers,

I am sorry for being away for 2 weeks now. If you have been following me on Instagram, you would know that I was in Kathmandu during the Nepal Earthquake,25th April 2015. Those were really tough days but now things are much under control. Nepal is fighting back and a new Nepal is going to build soon. This recipe is the one I was supposed to post 2 week ago. I haven’t really baked or cooked much these 2 weeks.

P.S- Please #PrayforNepal Guys!!!!

This Dark Chocolate Loaf was for my Mom as she is really fond of loaf cakes. Its one of her weaknesses. So this Mother’s Day what better than posting My Mom’s Favorite Recipe.

IMG_20150509_212000_wm

IMG_20150422_203732_wm

Who doesn’t love a slice of rich dark chocolate loaf? I hardly know of anybody. And if you are one of those, please do not speak to me 😛 Just kidding guys. But really, this is one thing that you definitely need on a Sunday. A slice of these along with a cup of coffee and your favorite movie is enough to distress from all that you went through during the weekdays. This is totally how I love spending my Sundays. :3

IMG_20150422_203620_wm

I baked a Pistachios,Nuts and Chocochip Loaf a few months ago which was quite a hit. I haven’t baked loafs since then although I was craving them since long. I don’t know why but I have this special attachment with a beautifully risen loaf. Do you feel the same???? If I am going through a really bad day, all I want to do is Bake. It is theorapatic. It is the best way I can relax.

IMG_20150509_211618_wm

When we talk about chocolate cakes or loafs, I personally do not like it too sweet. I made this loaf once before but it was a total disaster. I used sweet milk chocolate and it ruined the entire loaf for me. It turned out too sweet and I hated it like anything. I was so upset that I didn’t want to give it another shot, until I tried them now. This time I used Hershey’s Dark Chocolate along with Hershey’s Cocoa Powder and my loaf came out exactly the way I wanted it to. It wasn’t sweet or too bitter. Just perfect to my liking.

IMG_20150509_205404_wm

P.S- Trust me guys, a sweet chocolate loaf is just not worth it…. Try this one!!!

Generally, I post a fuss free and easy recipe on a Sunday for all you guys. And most of you must be wondering looking at the picture that this ain’t EASY. But here is the surprise…This loaf is ready in about 50 mins from start to finish and you have to do nothing while its baking. Yes this is TRUE. You really don’t need to be pro at baking to make these. Just follow the steps and measurements and you are good to go. As i always say, please follow the measurements to the par while you are baking and your end results would be amazing.

IMG_20150509_210225_wm

 P.S- The Correct Measurements are extremely important while baking.

I also added dark chocolate chips to this one. I feel they enhance the flavor and texture of the cake all the more. Also it gives it a little bite and crunch and I absolutely love it. It is entirely optional though. You could also replace it with hazelnuts, cashews or any other nuts or dried fruits of your choice.

Lets get started with the recipe now.

RECIPE: DARK CHOCOLATE LOAF

Makes: One 9″ Loaf

Prep Time: 15 mins

Baking Time: 40 mins

INGREDIENTS

  • All Purpose Flour- 200 gms
  • Unsalted Butter-50 gms
  • Sugar-100 gms
  • Salt-1/2 tsp
  • Baking Powder-2 tsp
  • Baking Soda-1 tsp
  • Hershey’s Dark Chocolate- 1 bar
  • Hershey’s Coco Powder- 3 to 4 Tbsp
  • Semi-Sweet Chocolate Chips-1/4th cup
  • Vanilla Extract-1 tsp
  • Yogurt-1/2 cup
  • Oil-1/4th cup

PROCESS:

In a bowl sift together all purpose flour, salt, baking powder, baking soda and coco powder. Set this aside. Sift twice if possible.

In another bowl melt the dark chocolate. I melted it in a microwave stirring every 3 seconds until its is smooth.

Now beat the butter, sugar together until it is combined. Add oil and melted dark chocolate and whisk everything until smooth. Make sure you do not over beat it.

Now add the dry ingredients in the wet ingredients,,alternating with yogurt until everything is smooth and combined. The mixture need not be very watery. It will be thick so don’t worry.

Add vanilla extract and this mixture is ready. At the end add half a cup of semi sweet chocolate chips.

Line your loaf tin with some parchment paper, and add the mixture. Bake in a pre heated oven for 40 mins at 180 degrees.

Your amazing dark chocolate loaf is now ready.

IMG_20150421_200650_wm

 For any queries and collaborations contact me at : cookingdiarybyshruti@gmail.com

You can connect with me on FacebookInstagram and Pinterest for more regular updates.

If you cook or bake anything from Cooking Diary By Shruti…Please Share the Pictures on Instagram or Facebook and Tag @cookingdiarybyshruti. I would love to see them. Also I would feature it on my blog.

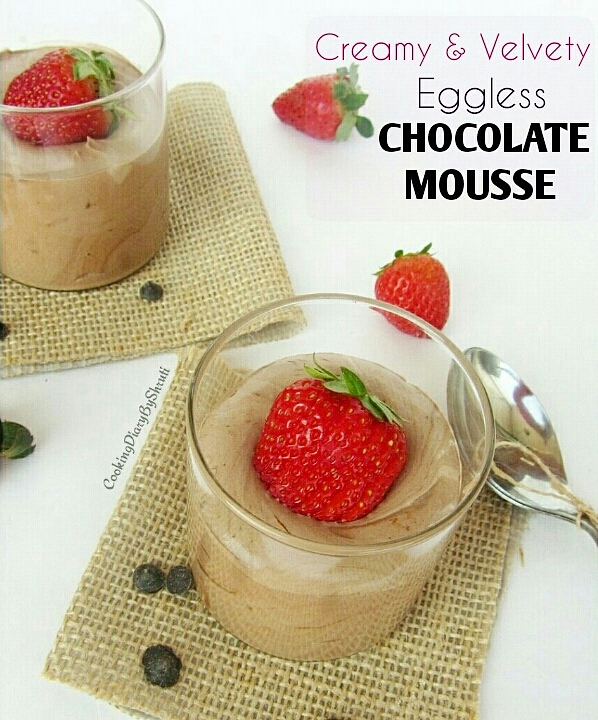
Chocolate Mousse

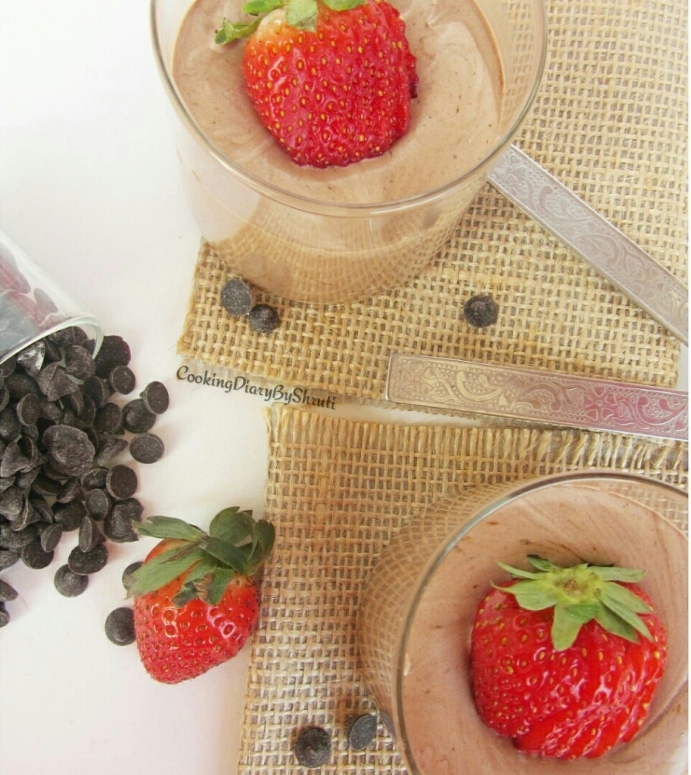
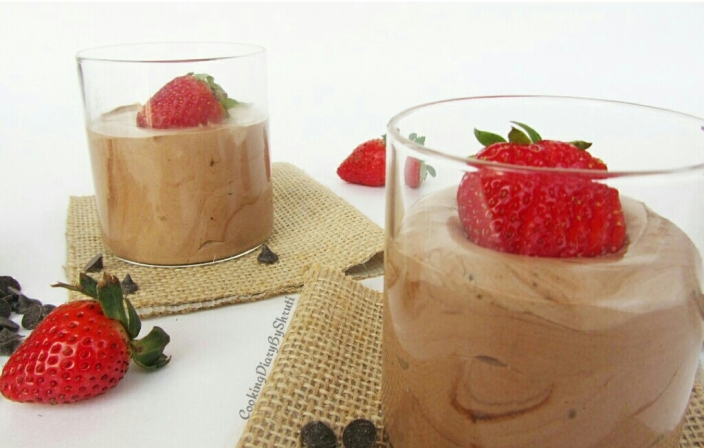
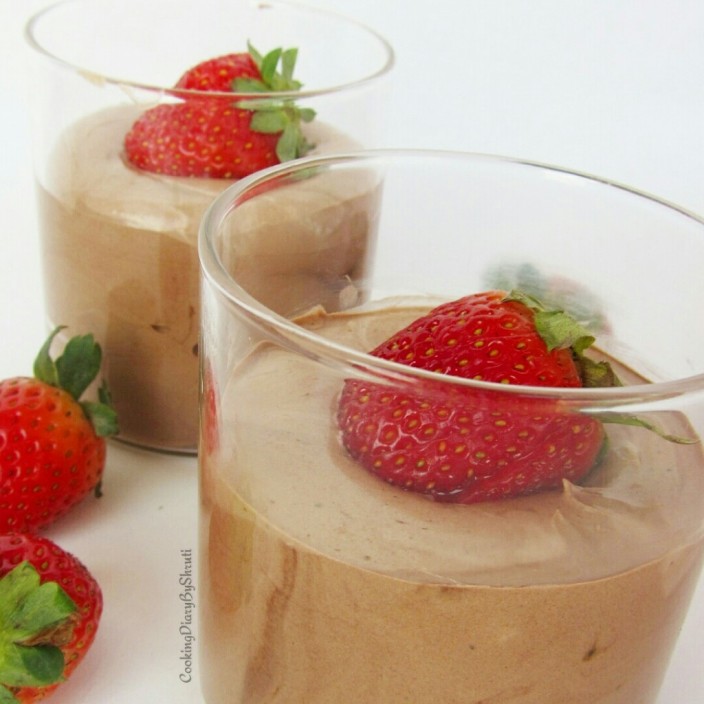
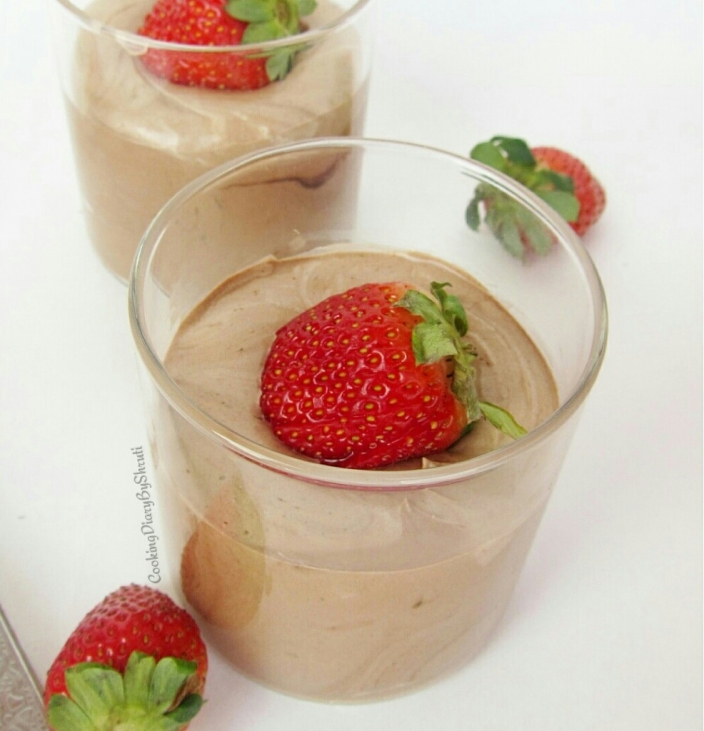
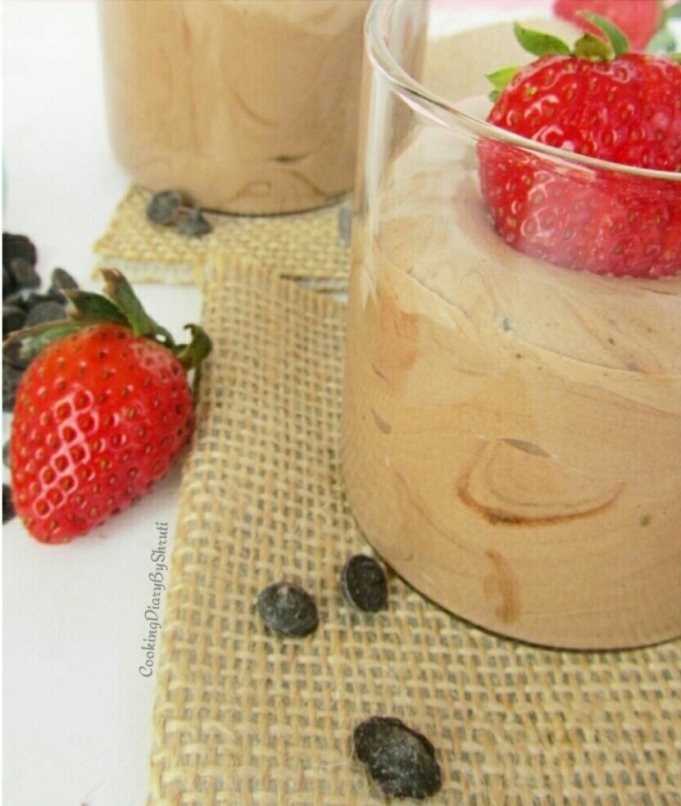
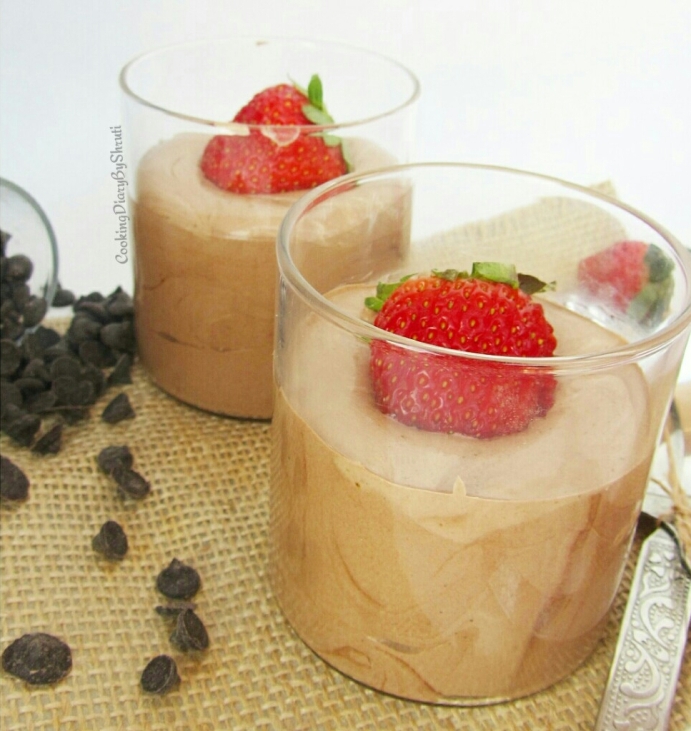
Chocoholics Beware!!! This delicious Chocolate Mousse has a rich Chocolate Flavor and is light and airy with a velvety smooth texture.

Its February… the Valentines Special Month ❤ ❤

IMG_20150131_163918-1

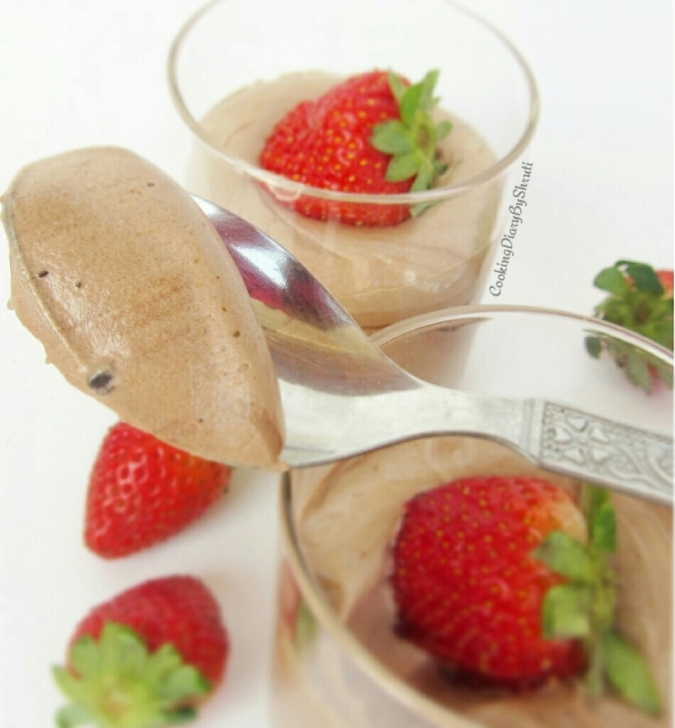
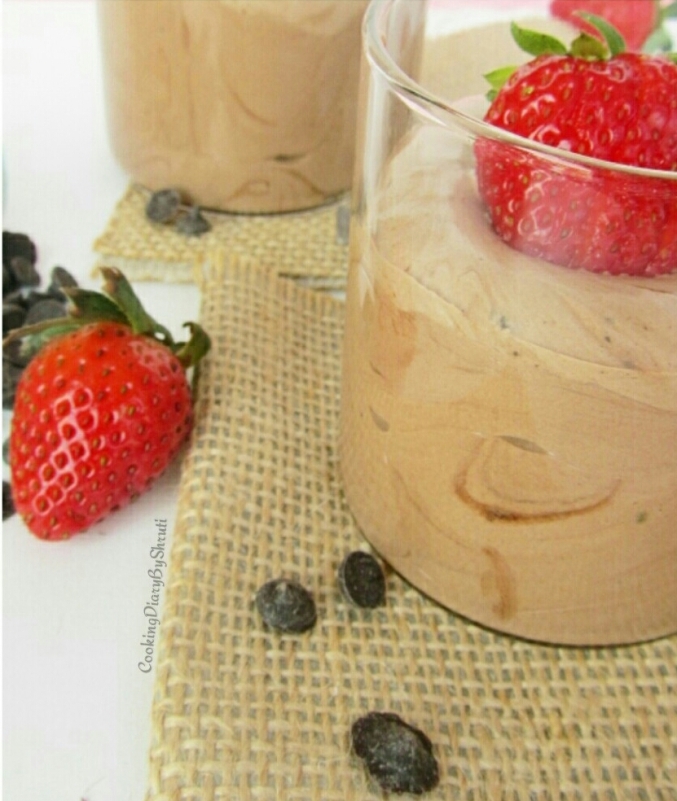
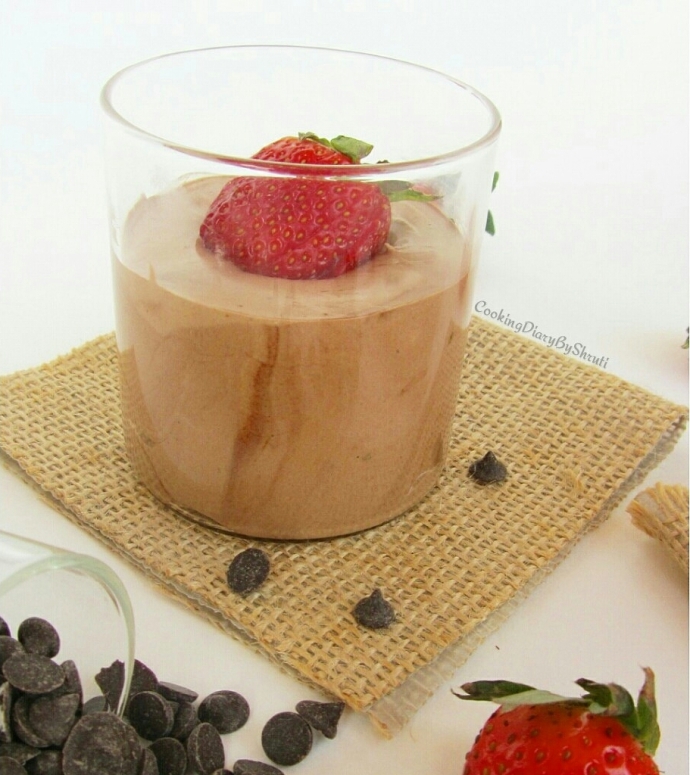
A spoonful of my Eggless Chocolate Mousse and I assure you that you will be hooked to this forever 🙂 I believe mousse is what you could call a grown up chocolate pudding. Although a chocolate mousse does seem like a really complicated recipe but it is simple yet an elegant dessert. This Chocolate Mousse Recipe uses only a few ingredients, but its chocolate flavor is rich, & its texture is silky smooth, airy and almost foamy.

P.S- Foamy is the apt description for a mousse because “Mousse” in French means “FOAM”

IMG_20150131_155212_wm

Valentines Day is really special occasion for people in love. They like to do everything super special for their loved ones. I do not believe that it should be the only day to pour in all the love but for many of you out there it truly is a special day. I appreciate that an therefore there will be a series of easy valentines special recipes this month for all of you.

IMG_20150131_160130_wm-1

IMG_20150131_155349_wm-1

I am sure you would want to cook something spectacular for Valentines Week. Valentines week calls for really gorgeous looking desserts and recipes. But obviously you do not want to spend much time in the kitchen. Do You? The recipes have to be easy and beautiful at the same time so that they can be enjoyed with your loved ones.

P.S- So please hold yourself as there are a lot of EASY…EGG LESS…QUICK…NO BAKE recipes coming up on the blog this month.  🙂

IMG_20150131_160015_wm-1

IMG_20150130_233138_wm

Chocolate Mousse is everybody’s all time favorite. I mean if you love chocolate you ought to love the rich & creamy chocolate mousse. There are a lot ways to make chocolate mousse. Mostly a chocolate mousse requires the usage of eggs or egg whites to make it fluffy and creamy. When you fold in the egg whites in chocolate it really gives it a smooth and rich texture. Nonetheless..I bring to you an EGG LESS version of Chocolate Mousse and trust me there is no compromise in the texture or the flavor of this mousse.

IMG_20150131_154710_wm

IMG_20150131_154818_wm-1

Usually you can make the easiest mousse by folding in chocolate with a good heave whipped cream and let it set in the refrigerator for that desired texture. However in this recipe I have used a secret ingredient which makes the mousse so light and fluffy is marshmallows. Yess..you heard it right. MARSHMALLOWS are the secret star ingredient of this recipe. It is entirely optional. This foamy chocolate mousse is a combination of melted chocolate, marshmallows and heavy whipped cream. The marshmallows contain gelatin and it is the gelatin that helps the mousse to set. It truly gives it the same softness and foamy texture that comes with egg whites.

Please remember that the marshmallows are a completely optional ingredient. Since, it has gelatin most of you wouldn’t want to use it. You can skip using marshmallow entirely and go ahead with the rest of the ingredients as given. Just refrigerate the mousse for at least 2 hours to give it a settled finish.

P.S- Melted Marshmallow is the Secret Star Ingredient of this recipe 🙂 (Optional)

Since there are really few ingredients in a Chocolate Mousse recipe it is really important for you to pick the best quality of chocolate. Use a good quality semi sweet or bitter sweet chocolate that you enjoy eating. My preference is semi sweet chocolate with atleast 60 % of coco content. However, to make a perfect and classy chocolate mousse..even the best quality chocolate is not enough. You need to mix together some coffee into your chocolate while melting it to really bring out the rich flavor of chocolate.

IMG_20150131_155715_wm-1

IMG_20150131_154508_wm-1

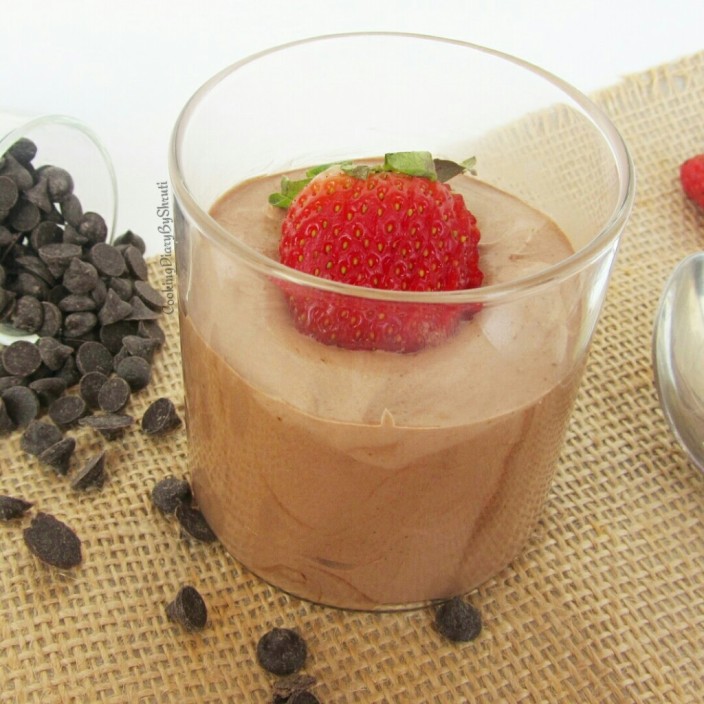
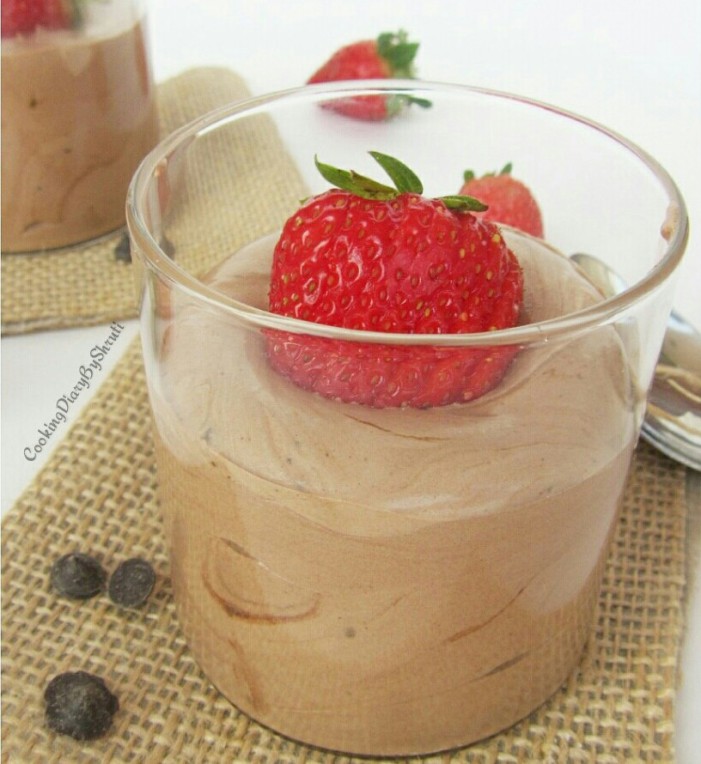
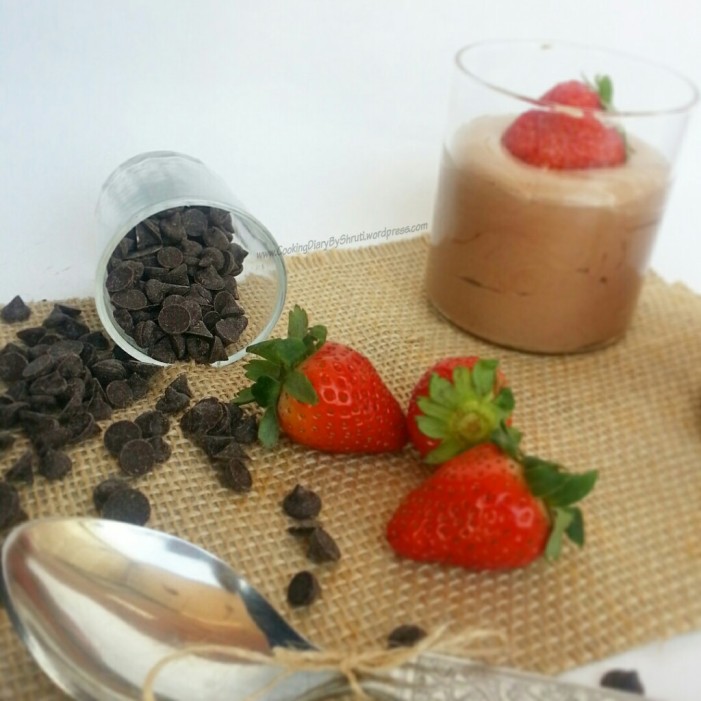
This chocolate mousse can be used to fill cakes or tarts too. But I personally prefer a scoop of these beauties in my favorite pair of glass. You can garnish it with whipped cream, shaved chocolate, raspberries or strawberries. I obviously chose strawberries. Don’t they look lovely.

You can serve them directly but would taste amazing when you serve them chilled after placing them in the refrigerator for a few hours.

P.S- So all you boys & girls..gear up..and make these choco-licious and foamy Chocolate Mousse for your loved ones this valentines day ❤

IMG_20150131_155040_wm-1

IMG_20150131_155715_wm-1

Lets get started with the recipe.

RECIPE: CHOCOLATE MOUSSE

Makes: 3 to 4 glasses 

Prep Time- 10 mins

Making Time- 5 mins

INGREDIENTS:

  • Semi Sweet Chocolate- 200 gms
  • Marshmallows- 100 gms (Optional- You can avoid it if you don’t eat gelatin)
  • Unsalted Butter- 2 Tbsp
  • Castor Sugar- 3 to 4 Tbsp
  • Strong Coffee or Espresso- 2 tsp
  • Vanilla Extract- 1/2 Tsp
  • Heavy Whipped Cream- 150 gms
  • Shaved Chocolate or Strawberries- For Garnishing (Optional)

PROCESS:

Put the marshmallows, butter, semi sweet chocolate and coffee powder mixed with 1/2 cup boiling water into a pan and let everything melt down. Keep stirring constantly. For a quick result make sure you chop the marshmallows into smaller pieces.

If you are not using marshmallows then skip it and add rest of the ingredients in a pan and move further.

Remove from heat once the chocolate mixture has melted and a smooth consistency is formed.

Meanwhile the mixture is cooling, whip the cream  with vanilla and sugar until soft peaks are formed. Make sure the cream is not too stiff. Although it should be a heavy good quality whipped cream.

Fold in the cooled down chocolate mixture into the cream. Be as gentle as you can and use a cut and fold technique to mix it.

Serve in your favorite glasses. Make sure you only fill 3/4th of the glass so that you can garnish it with your favorite topping. I garnished it with strawberries. You can use whipped cream or shaved chocolate or raspberries or blueberries. The choice is yours.

Let the mousse set in the refrigerator for at least an hour.

Your easy, no bake, chocolate mousse is now ready. 🙂

IMG_20150131_162900-1

For any queries and collaborations contact me at : cookingdiarybyshruti@gmail.com

You can connect with me on FacebookInstagram and Pinterest for more regular updates.

If you cook or bake anything from Cooking Diary By Shruti…Please Share the Pictures on Instagram or Facebook and Tag @cookingdiarybyshruti. I would love to see them. Also I would feature it on my blog.
Chocolate Dipped Sweetheart Cookies

Are you an extreme Cookie Lover? Don’t know how to bake amazing Cookies? Try these sweetheart cookies and I bet these would be the best you have tasted. ❤

Screenshot_2014-11-17-19-21-38-1

What can be more sinful than baking eggless, sweet, buttery and Chocolate Coated Cookies at home? Nothing Right? I love these cookies. They look so sinful and gorgeous than I cant stop adoring them. Its been quite some time that I have blogged something. So I though why not start with these amazing cookies. I have recently joined a workout session in a gym nearby.

Screenshot_2014-11-17-18-45-01-1_wm

Yes..Yes i know..Foodblogging and gymming dont go together. Actually, I am doing workouts so that I can eat without any guilt. 😛 You know..I am not much of a calorie counter. Due to my initial days of workout, i really had a sore body because of which I didnt have the stamina to make something new or blog. Finally, Its been about more than a week and I am back in form. I kind of did a little cheating and had few of these cookies today. LOL.

P.S- These chocolate dipped cookies are to die for.

Screenshot_2014-11-17-18-19-47-1_wm

Although these cookies give an impression of a lot of hardwork gone in to make these…These are fairly easy to bake. These cookies are ready in about 30 mins and its the easiest one could make. There is no hidden time when I say these cookies just took about 30 mins to bake and get ready. Ofcourse there is a dough chilling time which too isn’t much in this case. Just about 15 mins and you will be sorted with the dough.Easy to put together and really impressive these cookies are a must try.

Honestly, I love the entire process of making a cookie in comparison to the quantity of cookies I would eat. I just adore them. I have fairly about 1 or 2 of the batch of cookies I make and that is about it, But I love baking these. The aroma of a baked cookie in your kitchen is the best thing that can happen. So yes.. that is my favorite part.

Screenshot_2014-11-17-18-18-07-2_wm

Its not been more than an hour that I have baked these cookies and more than half the batch is over. These cookies are that addictive. If you have kids at home, I would suggest you to make loads of them. I make a really small quantity of anything new that I make so that I don’t waste much things if they don’t turn out to be nice.

P.S- These Cookies take less than an hour to get ready.

RECIPE: CHOCOLATE DIPPED SWEETHEART COOKIES

Makes About- 15 cookies

Prep Time- 15 mins

Baking Time- 10 mins

INGREDIENTS:

  • All Purpose Flour- 1 cup
  • Unsalted Butter- 60 gms
  • Castor Sugar- 50 gms
  • Salt- A pinch
  • Vanilla Extract- 1 tbsp
  • Dark Chocolate- 1 cup

PROCESS:

1. Beat together butter and sugar until light and fluffy.

2. Add vanilla extract and beat for some more time.

3. Add in flour and salt and make  a dough which will be a little sticky.

4. Make sure you refrigerate the dough for atleast 15 mins before you roll it out.

5. Once the dough is chilled, roll it out in a floured surface with about 1/2 inch thickness. With the help of cookie cutter cut out heart shaped cookies.

6. Line the cookies on a baking tray which should be lined with a cookie sheet.

7. Bake the cookies in a preheated oven for about 10 mins at 180 degrees.

8. Once the cookies are baked and cooled down its ready to be dressed in chocolate.

9. Melt chocolate in a double boiler until it is in a smooth consistency.

10 Now dip half the cookies in them..Sprinkle some sugar and Let is cool in a baking sheet.

Your Chocolate Dipped Sweetheart Cookies are now ready.

Screenshot_2014-11-17-19-23-04-1

For any queries and collaborations contact me at : cookingdiarybyshruti@gmail.com

You can connect with me on FacebookInstagram and Pinterest for more regular updates.

Looking forward to similar recipes? Try my:

Sugar Kissed Strawberry Cookies

Screenshot_2014-07-21-23-50-37-1

Double Chocochip Cookies

Screenshot_2014-07-09-01-16-21-1_wm

Strawberry Jim Jam Cookies

Chocolate Caramelized Banana Crepes

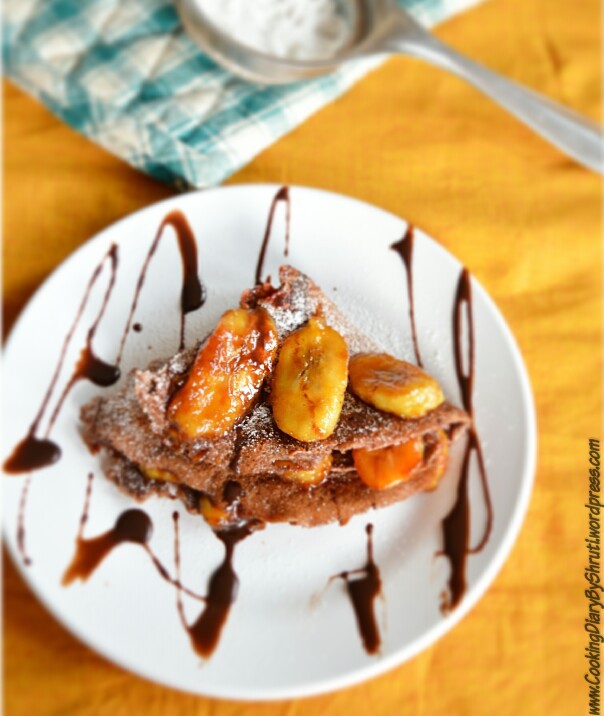
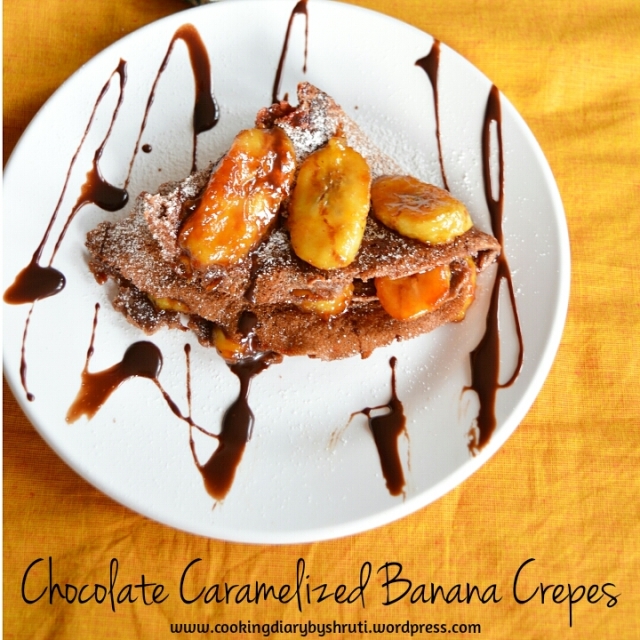
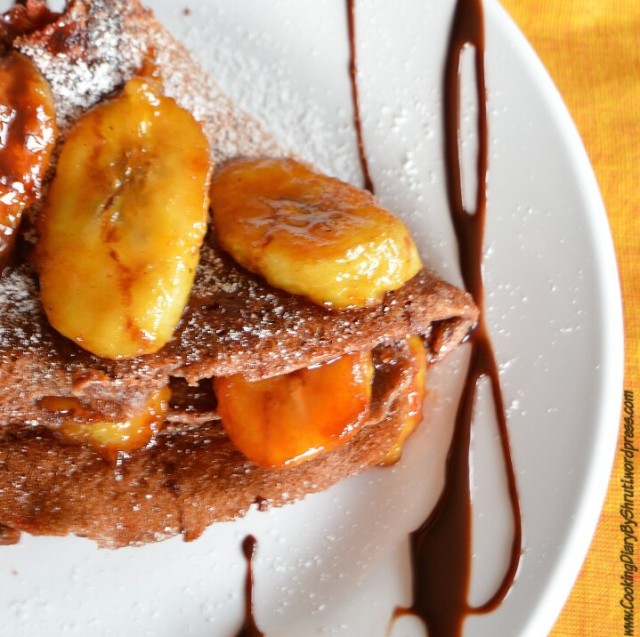
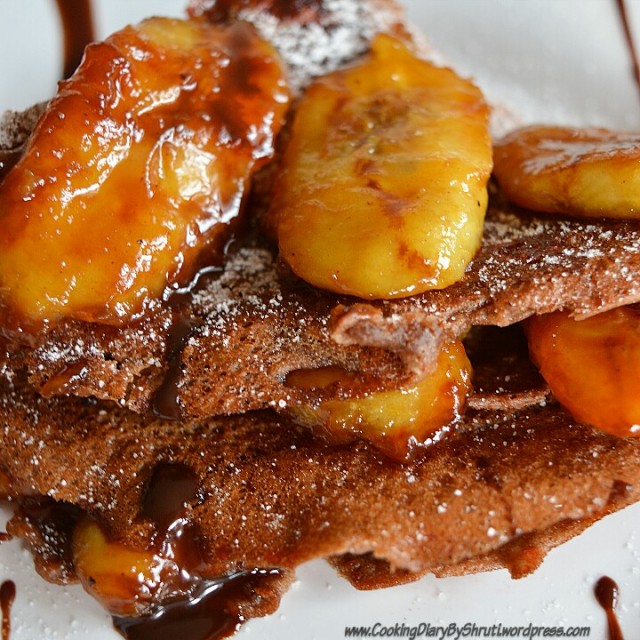
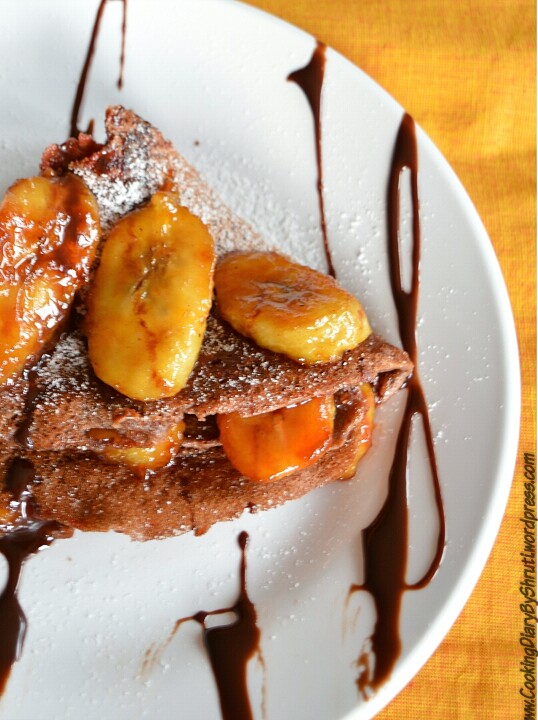
These Chocolate Caramelized Banana Crepes are the most sinful dessert ever. You don’t mind gulping down these calorie loaded dessert because they are worth every bite. I am totally in ❤ with these!!!!

Screenshot_2014-09-11-14-01-19-1_wm

Every time I make something totally new, something which I haven’t tried making before , I really feel nervous. I want it to come out perfect on the very first attempt. Most of the times I am successful but sometimes I am not. That is my bad day. Nonetheless, These crepes totally surprised me. I was super happy with the final results. In my very first attempt of making crepes at home, I was successful. They not only look glorious but taste heavenly. The Caramelized Bananas add richness to the crepes and makes them all the more “Sinful” 🙂

P.S- Homemade Crepes will surely Surprise you. ❤

Screenshot_2014-09-11-10-47-44-1

A crepe is a very thin form of a pancake and has its origin from France. They are made by pouring a very thin batter over a hot pan and cooked lightly on both sides. A crepe can be made in a variety of ways. It can be both sweet and savory. I will be doing a savory version of the crepes soon. They might look complicated but are extremely easy to make. If you are a beginner at cooking, you Must try these crepes and you could be star of the evening by serving these hot crepes to your guests.

Screenshot_2014-09-09-18-47-39-1_wm

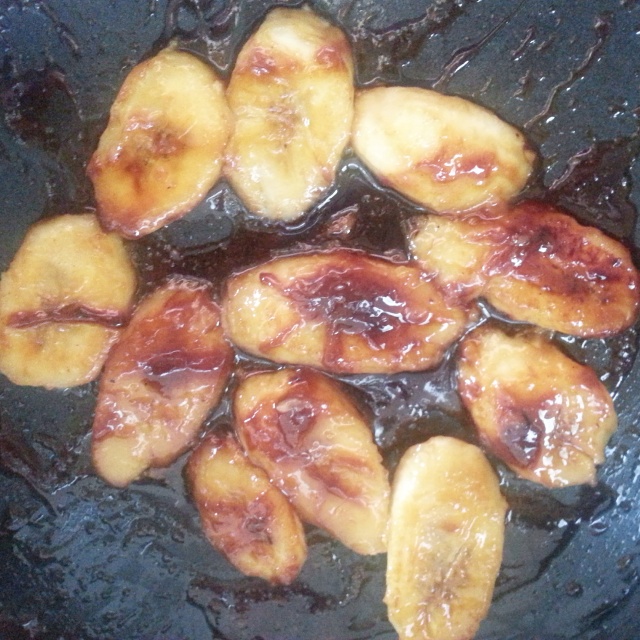
I feel to have discovered the most easiest yet sinful dessert recipe. All you have to do is, put the ingredients together and whip up a batter. The batter has to be of a thin consistency so that it can be spread easily. The filling in the crepes is entirely your choice. I am waiting for the strawberry season in order to make some amazing crepes out of strawberries. I have used Caramelized Bananas. They add enormously to the flavor of the chocolate crepes.

P.S- My house was filled with the Aroma of Cinnamon and Brown Sugar while making these.

IMG_20140910_112807

Screenshot_2014-09-11-13-59-44-1_wm

I am really proud that these crepes came out just the way I wanted them to be. Like all of you, I thought of them to be a real wonder before I actually ended up trying these. As you know my Blog is entirely eggless, the greater challenge here was to make these crepes without eggs. I didn’t want to compromise on the texture. After a lot of research, and flipping back through my cooking diary , I thought of various combination of ingredients which could give me similar consistency. Finally, here I am with an Eggless Crepe Version. I made chocolate crepes instead of the normal vanilla crepes. I love the chocolate flavor. Also it really complemented my Caramelized Bananas.

You can enjoy your crepes both as a dessert or for breakfast. When you are serving your crepes for dessert, you can add fresh fruits and serve it with honey or maple syrup. This is the most exotic part about crepes that they can be eaten in any form. It is a healthy option for breakfast because it is made out of wheat flour and when served with fresh fruits and honey it becomes a sinful yet not calorie loaded. If you wish to make savory crepes you can always skip the sugar and add in your favorite veggies. I am thinking of a mushroom and broccoli crepe. Lots of idea in my mind though 😛 Enjoy these !!!

P.S- You can serve the crepes with Whipped Cream, Chocolate Sauce or your favorite flavored Ice-Cream.

RECIPE: CHOCOLATE CARAMELIZED BANANA CREPES

Prep Time- 10 mins

Makes About- 5 Crepes

Cooking Time- 10 mins

INGREDIENTS:

For the Caramelized Bananas:

  • Bananas- 2 to 3
  • Brown Sugar- 4 Tbsp
  • Butter- 2 Tbsp

For the Chocolate Crepes:

  • Whole Wheat Flour- 1/2 cup
  • Rich Dark Cocoa- 2 Tbsp
  • Sugar- 2 Tbsp
  • Honey- 1 Tbsp
  • Baking Powder- 1/4th Tsp
  • Cinnamon Powder- 1/2 Tsp
  • Nutmeg Powder- 1/4th Tsp
  • Water- As required

For Garnishing:

  • Icing Sugar
  • Chocolate Syrup- 2 Tbsp

PROCESS:

1. In a bowl mix all the ingredients given under the Chocolate Crepes Section and mix until you get a smooth consistency and keep it aside.

2. In a pan, heat butter, once it starts to melt add brown sugar.

3. Once the sugar start to bubble up add bananas and let them cooking for about a minute on each side.

4. Pour a large spoon full of batter in a non-stick pan and distribute the batter with the help of a spatula on evenly.

5. Let the crepe cook for about 2 mins on each side.

6. Layer them with chocolate sauce and caramelized bananas and fold them.

7. Dust some Icing Sugar on top.

Your Chocolate Caramelized Banana Crepes are now ready ❤

Screenshot_2014-09-09-18-49-07-1-1_wm

For any queries and collaborations contact me at : cookingdiarybyshruti@gmail.com

You can connect with me on FacebookInstagram and Pinterest for more regular updates.

If you cook or bake anything from Cooking Diary By Shruti…Please Share the Pictures on Instagram or Facebook and Tag @cookingdiarybyshruti. I would love to see them. Also I would feature it on my blog.
IMG_20140628_004634[1]

Chocolate Cupcakes

Super Moist Chocolate Cupcakes with Pink Frosting

Screenshot_2014-05-27-11-34-51-1-1_wm

Screenshot_2014-05-23-22-37-56-1_wmWell this is not my first attempt of cupcakes. I am sure you have read my previous recipes: Lemon Cupcakes and Strawberry Vanilla Chocochip Muffins. But no cupcake list is ever complete without chocolate cupcakes. Chocolate cupcakes are the most sinful indulgence ever. And trust me you can make so much of variety in chocolate cupcakes itself. I have started with the basic one…. Simple Chocolate Cupcakes. I have a lot more to try and test but these are my ultimate favorite.

Screenshot_2014-05-27-11-38-55-1-1_wm

Screenshot_2014-05-27-11-36-07-1-1_wm

I hardly know someone who doesn’t love cupcakes. I mean cupcakes are truly one of the finest creations. It is a blessing in the baking world. I simply ❤ Cupcakes. Honestly, I love cupcakes more for their decoration. Yeah, I know its a little weird but that’s me :P. Whenever I go to a Bakery, I eye on those gorgeous looking cupcakes…. “The color…The decor..The sprinkles” all of it attract me…… I would rather buy a cupcake which is gorgeous looking than my favorite flavor…Seriously!!!

P.S- ” I buy cupcakes which is more appealing to my eyes, and if they weren’t perishable I wouldnt eat them ever “.

If you are a regular reader of my blog, and follow my recipes religiously, you would know that I don’t use eggs in any of my baking or cooking. Surprised? Yes, its true. These chocolate cupcakes are so moist and fluffy that one fails to recognize that they are egg less. Try it on your own and you would be surprised by the end results. I promise. 🙂

Screenshot_2014-05-27-11-33-49-1-1_wm

The best part about my chocolate cupcake recipe is that its so so easy. You don’t need any fancy ingredients and no extra amount of work in the kitchen. All you have to do  is mix the wet ingredients and the dry ingredients together and your chocolate cupcakes are ready…. Yes, its that simple.

If you are a beginner this recipe is just for you. Make it and you feel like a pro in the baking world. Impress all your friends and dear ones with these Yummmy cupcakes which are extremely easy to make.  For the cupcake frosting, I have used a basic Vanilla Butter Cream Frosting and added a drop of pink color to it. But you can use it without the color or add your favorite color…The choice really is yours. Not only this, you could make a chocolate frosting too… I have given the recipe for both the frosting although I made the vanilla one. 🙂

IMG-20140523-WA0007

IMG-20140523-WA0003

The chocolate frosting isnt difficult. All you have to do it add unsweetened cocoa to the vanilla frosting. Also if you want to top it up with a chocolate ganache you can do that too.

Lets begin with the recipe of the cupcakes.

INGREDIENTS:

For the Cupcakes:

  • All Purpose Flour- 1 1/2 cup
  • Unsalted Butter- 50 gms
  • Vegetable Oil- 1/4 cup
  • Castor Sugar- 1 cup
  • Unsweetened Cocoa- 1/3 cup
  • Baking Powder- 3/4  tsp
  • Baking Soda- 1/2 tsp
  • Salt- 1/4th tsp
  • Vanilla Extract- 1 tsp
  • Buttermilk- 120 ml
  • Cooking chocolate- 50 gms
  • Sprinkles-( Optional)

For the Vanilla Buttercream:

  • Unsalted Butter: 150 gms
  • Icing Sugar- 100 gms
  • Vanilla Extract- 2 tsp
  • Heavy Cream- 1/2 cup
  • Pink Color- 1 Drop ( Optional)

PROCESS:

Makes about- 10 to 12 cupcakes

Baking time- 2o mins

Prep time- 15 mins

Preheat the oven for 15 mins at 180 degrees.

1. Sieve together flour, baking powder, baking soda, cocoa powder, sugar and salt and keep aside in a large bowl.

2. In a bowl, melt together butter and cooking chocolate for 30 seconds in microwave. If not melted completely, stir and keep for 30 seconds more. Make sure you dont heat it for more than 30 seconds else the chocolate will burn.

3. Now add this melted chocolate to the dry ingredients and beat it with the help of a electric beater. Use it at low speed. Remember, we don’t want to over beat the mixture.

4. Add vanilla extract and oil.

5. Add buttermilk to get a smoother consistency. Do not over beat.

6. The mixture will be thick. Stop using buttermilk once you get the desired consistency.

7. Line your muffin tray with cupcake liners and add the mixture with the help of a scoop. Make sure you will the cupcake liners only 3/4th.

8. Bake for 15 mins at 180 degrees. Check after 15 mins with the help of a skewer. If it comes out clean, your cupcakes are ready. If not bake for 5 mins more.

9. While the cupcakes are baking, make your frosting.

10. Whip butter until its light in color. Add icing sugar and beat till its fluffy. Add vanilla extract. Now slowly fold in heavy cream with the help of a spatula. This will give it a smooth finish.

11. Add a drop of food color. I added PINK. You can add your favorite color.

12. Once the cupcakes are completely cooled, Use a piping bag to swirl in the frosting and top it with sprinkles. If you dont have a piping bad to it with the help of a spoon.

Your chocolate cupcakes are now ready.

IMG-20140523-WA0001


IMG-20140523-WA0005

* Do not over bake your cupcakes. Or it will become way to dry.

* You can add more chocolate and unsweetened cocoa if you prefer dark chocolate.

*Let you cupcakes cool down completely before you can add the frosting on.

*Either use a piping bag or a spoon to add the frosting.

*Do not over stir the mixture as it will spoil the cupcakes once you bake.

*Fill the cupcake liners only 3/4th else they wont rise.

Write to me for any queries.

You can connect with me on Facebook, Pinterest and Instagram for more updates.

Keep Baking

Love

Shruti

Looking for similar recipes. Try my:

Lemon Cupcakes

Lemon 2

Strawberry Vanilla Chocochip Muffins

IMG_20140228_222625_wm (1)

Double chocolate fudge Muffins

IMG_20140306_193628

Cake Poppers

PicsArt_1396285096732

Cake Poppers

Bored Of Eating a regular Sponge Cake? …..No More… Try My Cake Poppers!!!

PicsArt_1396460316976

Cake Poppers are probably one of my favorite treats! I love how they look like cute little lollipops and can be made into any color or flavor to suit your party. Plus they are the perfect little bite-sized indulgence! Cupcakes might be delicious but cake pops are delicious and a lot more fun ❤ And they’re ideal for any party––from kid through adult, all will be delighted to bite into cake instead of hard candy.

PicsArt_1396285096732

 I’m slightly obsessed with bringing these fun little treats to parties. There is something so whimsical about a little piece of chocolate-covered cake at the top of a stick. And they have some major advantages at dessert time…no cutting, no serving, no mess, and usually no left-overs! People can grab them and go without even having to sit down.

Another best part about it is…once you learn how to make them…You can make as many versions as you like…They can be as vibrant or as suttle you want them to be……. Cake poppers are also perfect when you have left over sponge cakes and you just do not know what to do of it…. These cake pops are a rescue…. They just change the way you eat a normal cake…and make it so much fun.

Confession: I was just adoring them once they were ready…So gorgeous looking 😀

Making cake pops is a lot time consumingg….. and could be a little bit of a problem if you are a beginner…..

P.S- I am not trying to scare you!

By dividing the work into three main steps, you can make it easier.

You can even do these steps on different days:

1. Baking the cake
2. Rolling the balls
3. Dipping the pops

If you can do these 3 things you are sorted. And you can easily make these cake poppers.

20140328_154911_wm

Its so much fun to make these cake poppers…. and so delicious that just gets over before you can think of it. Honestly…once I started…. It seemed like a challenge because there is so much you gotta do… and especially if you are doing all in one day. You just get so restless about how to make it and how long would it take…..But a little patience while baking would do wonders for you.

20140328_154704_wm

Recipe for cake poppers

INGREDIENTS:

Makes about 15 to 20 Cake poppers

Preparation Time: 30 to 45 mins

Making Time: 1 1/2  hours( including the freezing time)

  • Cake of your choice- 1/2 k.g
  • Frosting of your choice- 2 to 3 Tbsp
  • Chocolate for melting- of your choice
  • Sprinklers for decoration
  • Lollypop sticks
  • Styrofoam Block- Optional
  • Food Color- Optional

PROCESS:

1. Bake a sponge cake. It does not matter which one…. Any flavor that you enjoy the most. If you want to learn an eggless basic vanilla sponge cake Click Here. You could also use a packed cake from the market directly.

2. Allow the cake to cool completely. If the cake isnt cool… it will be difficult to give it a ball shape.

3. Now with the help of your hands or a spoon…break down the cake into fine crumbs.  This is messy fun…..And my favorite steps of making cake poppers.

4. Choose a flavor of Frosting you like. This is the best part about cake pops i.e. you can choose any flavor of your choice. A can frosting is also perfect to use. However, if you wish to make it at home Click Here.  You use the frosting because you need a doughy texture to form the balls. Dont add too much frosting. 2 Tbsp should be enough for a 1/2 k.g cake…. Try form a ball and see…if it drifts apart add one more spoon and try again.

5. Now use a cookie scooper to scoop out little balls or use a tbsp …. Round them with your hands to perfect little balls.

6. Put each cake ball into a tray lined with parchment or butter paper…then place it in the freezer for 10 to 15 mins.

7. Melt some chocolate in a double boiler.

8. Dip the lollypop stick into the chocolate and then insert into the cake ball.

9. Dip the cake ball into melted chocolate.

10. Add sprinklers, frosting or toppings as desired.

11. Use the styrofoam block to stick the cake pops into and for display.

12. Refrigerate the cake pops before you can enjoy them.

Your cake poppers are now ready 😀

20140328_154944_wm

20140328_154917_wm

20140328_154956_wm


* The cake and frosting can be entirely of your choice. You could use a ready made one or make them easily at home.

* Do refrigerate for atleast 10 mins once the cake balls are ready before you dip them in chocolate.

* If you want colorful cake poppers… melt white chocolate and add food color of your choice. Dip the cake balls in those.

* You could use a mug or any other thing to hold your cake pops for serving.

* The consistency of the melted chocolate should be fine. Keep melting again if it gets hard while making.

For further queries do contact me.

Enjoy Baking :*

Love

Shruti

XOXO