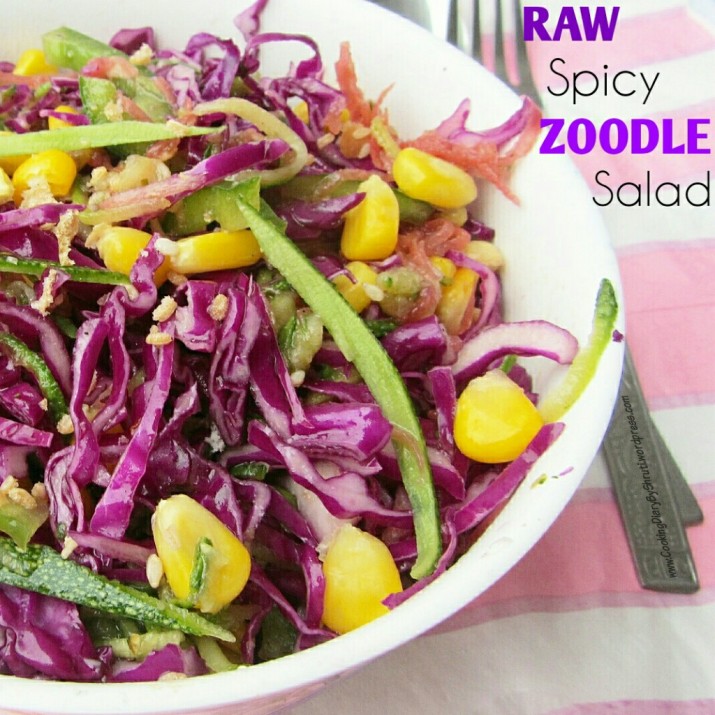
Raw Spicy Zoodle Salad

This year you will see a lot of easy and less ingredient recipes on the blog.

Hello Lovely Readers,

IMG_20150122_223225_wm

Yes. You heard it right. Last year I did get a lot of feedback from most of you asking me to post savory recipes and easy recipes which do not require baking. Though eggless baking is my forte and I love to put up those on the blog I will also try to add a lot of DIY easy recipes on the blog.

ZOODLES!! Also known as zucchini noodles is the STAR ingredient of the recipe.

Everyone is shifting from noodles to zoodles these days. And why not? They are way more healthier than noodles. You definitely need a Spiralizer to get those perfect zoodles..But incase you do not have one you can use a regular grater to do so. It wont be perfect but will give you long spirals of Zucchini which very much does the job. This salad is definitely my new found love. It is supremely rich in nutrition and a bowl filled with flavor and health. With a shelf life if up to 2 days without the dressing this is definitely a perfect option when travelling. It is filling and can be a perfect crunchy snack for those hunger pangs. 🙂

P.S – I am in love with the addition of Red Cabbage.

IMG_20150122_231320_wm

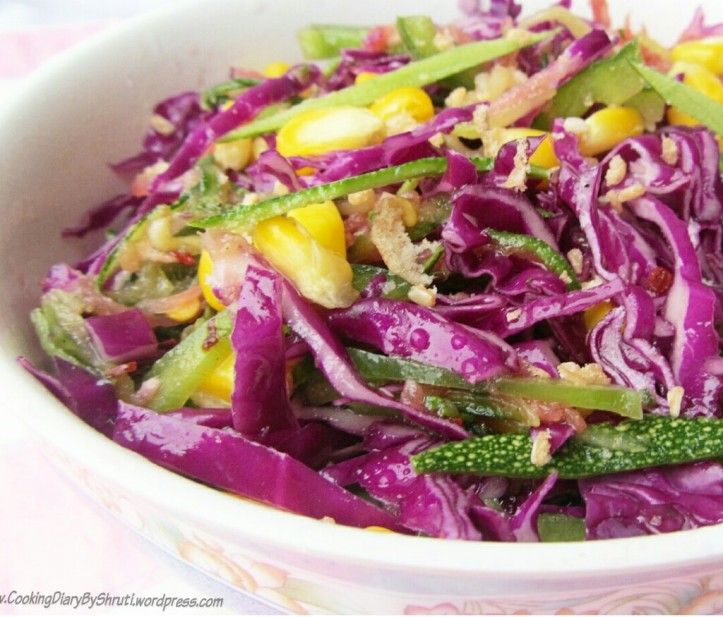
The red cabbage is really high in fiber ans looks beautiful when you add it in a recipe. It is easily available in the markets these days. I never picked them until I thought about adding it to the salad and I am completely in love with these beauties. They are absolutely gorgeous. This sald is raw and has nothing cooked. So all you have to do is mix all the ingredients together and you are sorted. If you want to prepare it in advance for an early dinner or lunch you can mix everything together and just add the dressing when ready to serve. It truly is divine.

IMG_20150126_190557_wm

The dressing is spicy and the special addition of Mustard is like a cherry on the cake. The base is definitely of Olive Oil and Lime. The dressing does have a lot of spices yet has a balanced flavor with the addition of honey.

Lets get started.

RECIPE: Raw Spicy Zoodle Salad

Makes- A bowl

Prep Time- 10 mins

INGREDIENTS:

For the Salad

  • Zucchini- 1/2 Spiralized or Grated
  • Carrot- 1/2 Grated
  • Red Cabbage- 1/2 cup Grated
  • American Sweet Corn- 1/2 cup
  • Cilantro- Chopped

For the Dressing

  • Olive Oil- 2 to 3 Tbsp
  • Lime Juice- 1 1/2 Tbsp
  • Ginger- 1 inch grated
  • Jalapeno- 1
  • Mustard Sauce- 1/2 tsp
  • Honey- 1 tsp
  • Salt- to taste
  • Pepper- to taste

PROCESS:

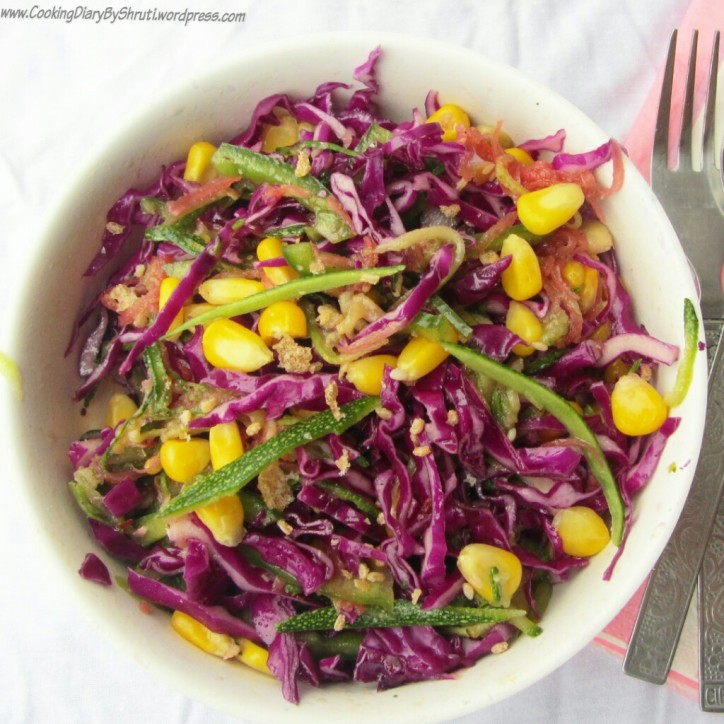
Grate zucchini, carrots and red cabbage. Add all the other ingredients under the salad heading in a large bowl and mix together.

Mix all the ingredients under the dressing section until it is of a fine consistency.

Pour the dressing over the salad, mix well and you are ready to serve.

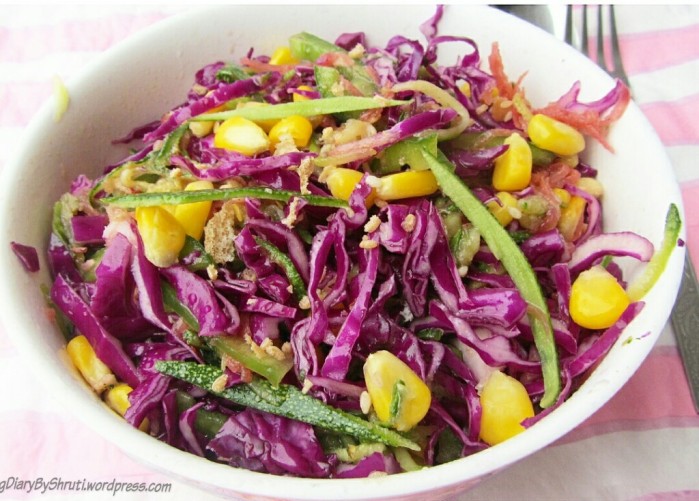
Your Raw Spicy Zoodle Bowl is now ready.

IMG_20150122_230713_wm

For any queries and collaborations contact me at : cookingdiarybyshruti@gmail.com

You can connect with me on FacebookInstagram and Pinterest for more regular updates.

If you cook or bake anything from Cooking Diary By Shruti…Please Share the Pictures on Instagram or Facebook and Tag @cookingdiarybyshruti. I would love to see them. Also I would feature it on my blog.

Looking for similar Recipes? Try My:

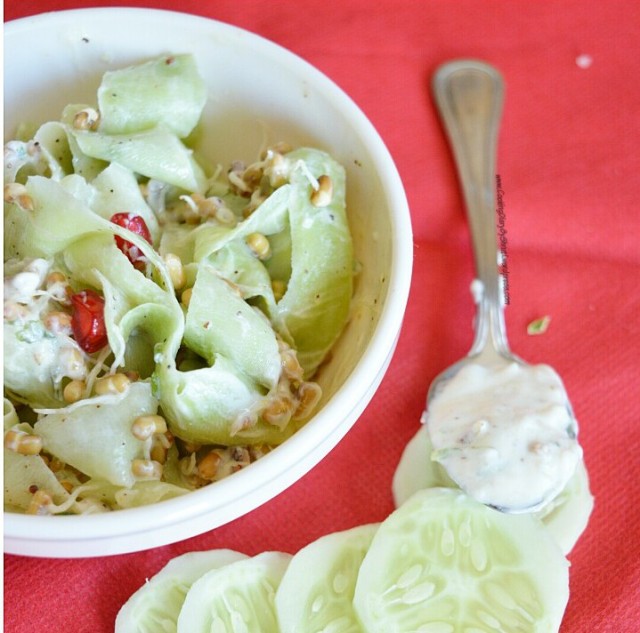
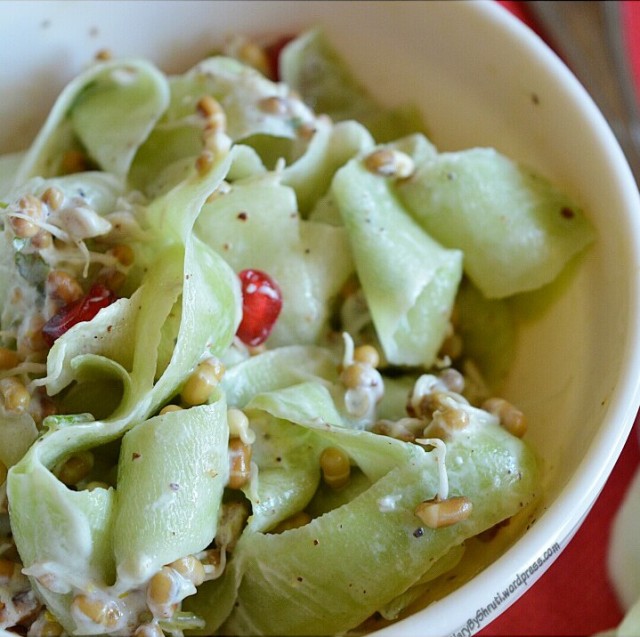
Cucumber Ribbon Salad with Yogurt Mint Dressing

Screenshot_2014-09-12-00-32-45-1_wm

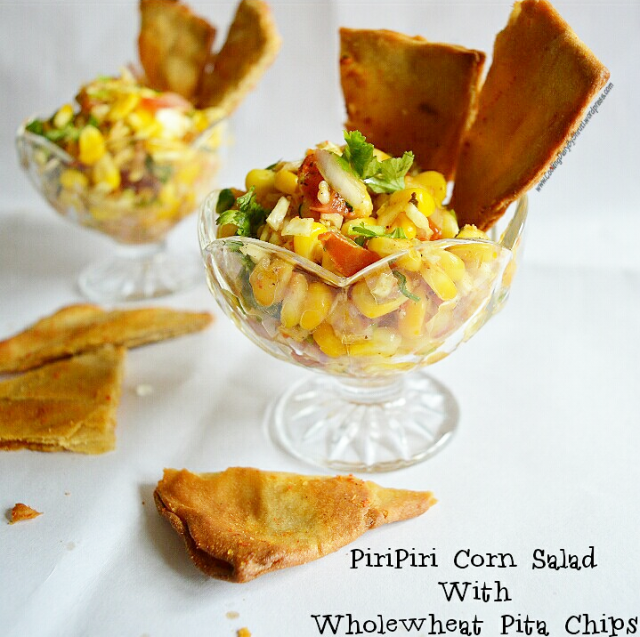
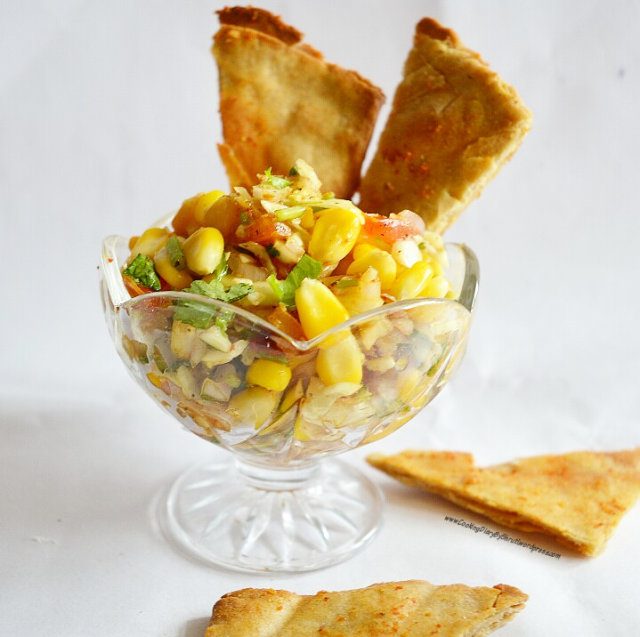
Piri Piri Corn Salad with Wholewheat Pita Chips

Piri Piri Corn Salad with Wholewheat Pita Chips is surely a great way to start the month of October. Healthy is surely Tasty too. My Piri Piri Corn Salad Just Defines That. ❤

Screenshot_2014-10-01-13-59-13-1

Heyiii All You Lovely Readers 🙂

Firstly, I would like to thank each one of you for all your love. Each day I receive alot of  Messages and Emails , and my day is just made with all the amazing things you say and it gives me confidence to do more better. I also whole heartedly welcome your feedbacks so please keep writing in. Also, I just reached my 1st Milestone on INSTAGRAM with 1000+ Followers 🙂 OCTOBER couldn’t begin more better than this…..Isn’t It?? Well there is a lot more to do…. but the first 1k followers are always special I believe. ❤

Screenshot_2014-10-01-13-59-32-1

If you have been a regular follower and reader of my blog you would know that I have been really excited about the month OCTOBER since my last blog post. October is my favorite month because Its my Birthday month and also because of all the Festivals and Celebrations around. Through out the month, I feel each day is a Celebration. My Piri Piri Corn Salad with Wholewheat Pita Chips just show that the celebrations have begun.

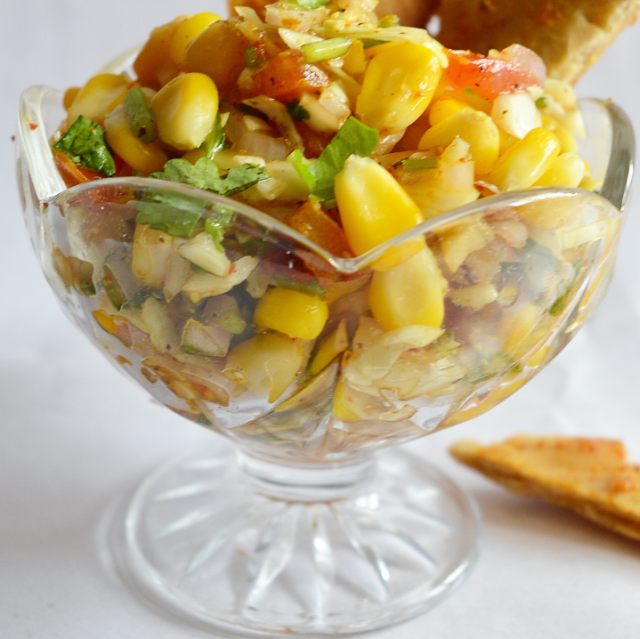
P.S- My Piri Corn Salad with Wholewheat Pita Chips are spicy, tangy, and healthy.

As you know, I started my new section SALADS in the previous month. The Cucumber Ribbon Salad with Yogurt Mint Dressing was loved by everyone. On one hand where that salad was cool…sweet…and very summery, this salad is very peppy. It is spicy..tangy and is served with wholewheat pita chips for that extra crunch. You can also eat it as a salsa with any other chips of your choice. I preferred homemade wholewheat pita chips. In this recipe you will learn to make both the salad and the chips. You can use the Whole Wheat Pita Chips and serve it with Soups, Salsa and even Pastas. It is really versatile.

Screenshot_2014-10-01-16-37-09-1

If you Love Amercian Sweet Corn you are surely going to love this salad. I have used a ready made Piri Piri Sauce to add in the spice to this salad. If you don’t have it you can also use Piri Piri Powder or make the sauce at home. The choice is totally yours. Now, whether you can make this sauce without any Piri Piri Sauce then my answer would be NO. I mean you will have a salad but it wouldn’t be a Spicy Salad anymore. However, if not this, I would suggest you to add a few chopped green chilies for the flavor.

Screenshot_2014-10-01-16-38-33-1

This Salad tastes amazing with Whole Wheat Pita Chips. It balances out the spicy-ness of the Salad. You can serve it with a ready to eat chips of your choice if you don’t prefer making the Whole wheat Pita chips. These are fairly easy to make and are ready in no time. This salad can be well prepared before hand and served when desired. I am in love with these pita chips. They are made without yeast. I will be doing a pita bread recipe soon on the blog. You can surely replace the whole wheat flour with all purpose flour (maida). The quantities and the recipe remains the same.

 Without much a do…lets begin with the recipe.

RECIPE: PIRI PIRI CORN SALAD WITH WHOLE WHEAT PITA CHIPS

Makes- 2 cups salad and a plate full of chips

Prep Time- 20 mins

Baking Time of Pita Chips- 15 to 20 mins

INGREDIENTS

For the Salad:

  • Partly Boiled American Sweet Corn- 1 cup
  • Red Onion- 1 Chopped
  • Tomatoes- 2 (Diseeded and Chopped)
  • Cabbage- 1/4th piece (Chopped)
  • Ginger- 1 Inch Chopped
  • Lemon Juice- 1 to 2 Tbsp
  • Piri Piri Sauce- 1 Tbsp
  • Salt- to taste
  • Pepper- to taste
  • Taco Mix- 1 Tbsp
  • Cilantro- 2 to 3 Tbsp (Finely Chopped)
  • Roasted Red Chilli Flakes- 1/4th Tsp

For the Whole Wheat Pita Chips:

  • Whole Wheat Flour- 1 cup
  • Water- To knead the dough
  • Butter- 2 tbsp
  • Baking Powder- 1/2 tsp
  • Oil- 30 ml

PROCESS

1. In a large bowl, Take whole wheat flour, Oil, Baking Powder and knead a soft dough using adequate water. Knead the dough for atleast 5 to 7 minutes on a flat surface so that the gluten in the dough is developed. Cover with a damp towel and leave aside for 1 hour.

2. In another bowl, add Onions, Tomatoes, Cabbage, Corn, Ginger, Salt, Pepper, Taco Mix, Roasted Red Chilli Flakes and keep aside.

3. Now, take one fourth of the dough and roll it out. Apply Melted butter and fold it to form a Semi- Circle. Do the same with all the dough.

4. Grill this in the oven for about 15 mins at 180 degrees or until the dough is crisp. Once done, you can sprinkle over a lot of taco mix and cut them into triangles or any desired shape of your choice.

5. While serving, mix lemon juice and cilantro to the salad. Place them in your serving dish and top with a lot of pita chips.

Your Piri Piri Corn Salad with Whole Wheat Pita Chips is now ready.

Screenshot_2014-10-01-10-55-24-1

 Thank You for Making it Happen 🙂 1000 + Followers on Instagram. If you wish to connect with CDBS on a daily basis follow me on Instagram @cookingdiarybyshruti.

instagram dp

Looking For Similar Recipes? Try My

Cucumber Ribbon Salad with Yogurt Mint Dressing

Screenshot_2014-09-12-00-37-39-1_wm

Corn Cheese Poppers

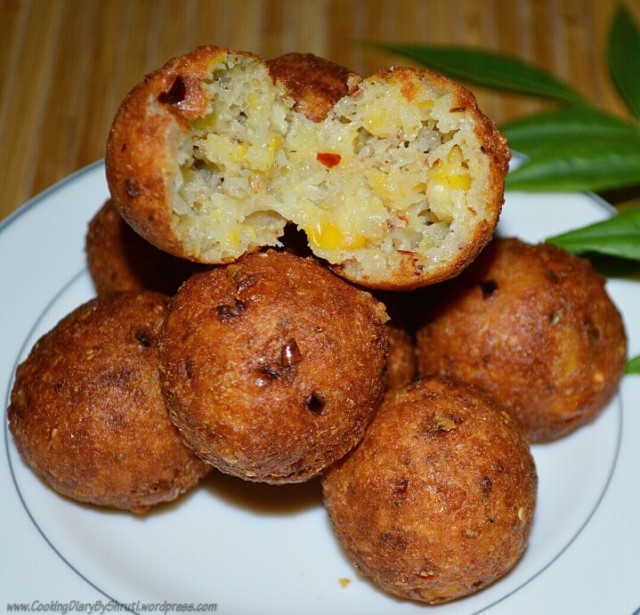
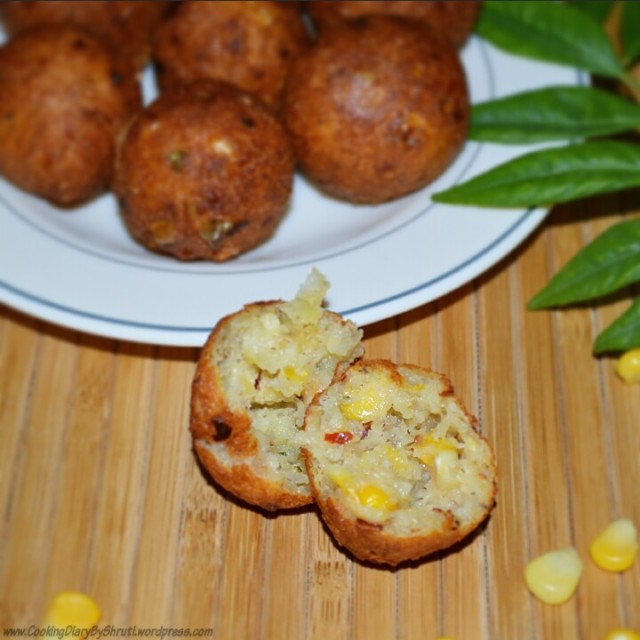
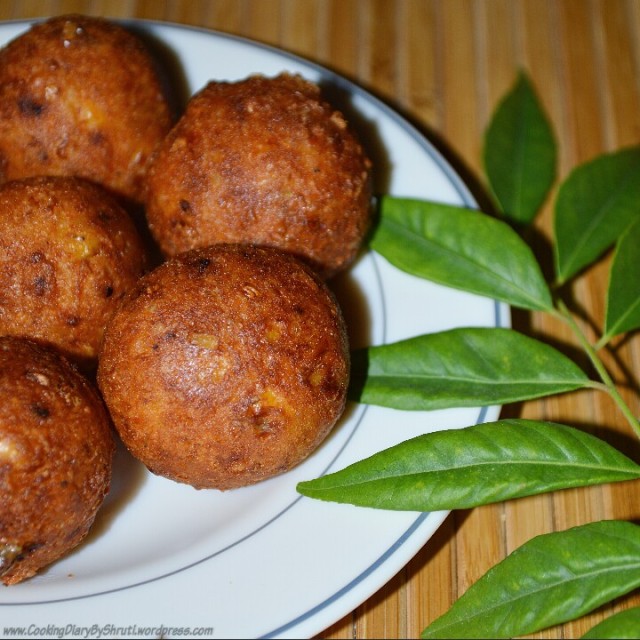
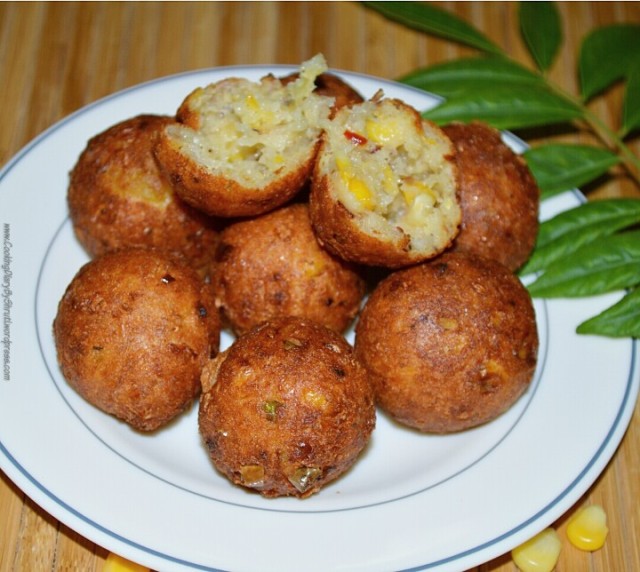
Looking for something to have with your Evening Tea? Or a Perfect Monsoon Snack? Try these Corn Cheese Poppers. They are spicy…and filled with Cheese.

Screenshot_2014-08-25-00-56-29-1-1_wm

Hello Readers,

Do you also love fried snacks during Monsoons. Well I simply ❤ them. I know fried means added calories…but lets face it..nothing beats the taste of a yummy fried snack. No matter you bake them or fry them in an air fryer the latest trend these days…… the taste would never be the same. I believe its good to count the calories but  once a while indulgence isn’t a bad thing 😛 What do you think?

Screenshot_2014-08-25-00-53-52-1_wm

P.S- I am not a strict calorie counter..but I  like to balance the food.

These Corn and Cheese Poppers are perfect, spicy and cheesy snack. If you are looking for a tea time snack, I would really recommend to make these. It is ready in no time and are bite sized. I feel they are an amazing party snacks too. They just melt in the mouth like a cotton candy. I prefer them a little spicy. I add both green chilli and chilli flakes to these so that it cuts down the sweetness of corn and makes it spicy. Well, if you don’t prefer it spicy, you can go with a normal one too.

Screenshot_2014-08-25-00-52-21-1_wm

These are really simple to do and you don’t need any fancy ingredients to make these. Just sweet american corn, cheese (preferably mozzarella cheese), green chilies and a few spices. All you have to do is mix all the ingredients together and fry them.

RECIPE: CORN CHEESE POPPERS

Makes : 10 to 12 poppers

Prep Time: 10 mins

INGREDIENTS:

  • American Sweet Corn- 1 1/2 cup (boiled)
  • Mozzarella Cheese- 3/4th cup
  • Green Chillies – 2 to 3 chopped
  • Potato- 1 (boiled and mashed)
  • Cilantro- 2 Tbsp (Finely Chopped)
  • All Purpose Flour- 2 Tbsp
  • Corn Flour- 2 Tbsp
  • Salt- to taste
  • Red Chilli Flakes- 1/2 Tsp
  • Black Grounded Pepper- 1/4th Tsp
  • Oil- For Frying

PROCESS: 

1. Boil the corn for about 5 mins and griddle them in a mixer just a little so that a few are mashed.

2. In a large bowl, add mashed potato and all the ingredients mentioned under the ingredients heading.

3. Mix all the ingredients nicely, so that they are all combined.

4. Divide in equal proportions, make round balls and deep fry them

5. Fry them on low flame so that they are cooked perfectly from inside.

Your Corn Cheese Poppers are now ready.

Screenshot_2014-08-24-16-49-30-1_wm

For any queries and collaborations contact me at : cookingdiarybyshruti@gmail.com

You can connect with me on FacebookInstagram and Pinterest for more regular updates.

If you cook or bake anything from Cooking Diary By Shruti…Please Share the Pictures on Instagram or Facebook and Tag @cookingdiarybyshruti. I would love to see them. Also I would feature it on my blog.

IMG_20140628_004634[1]

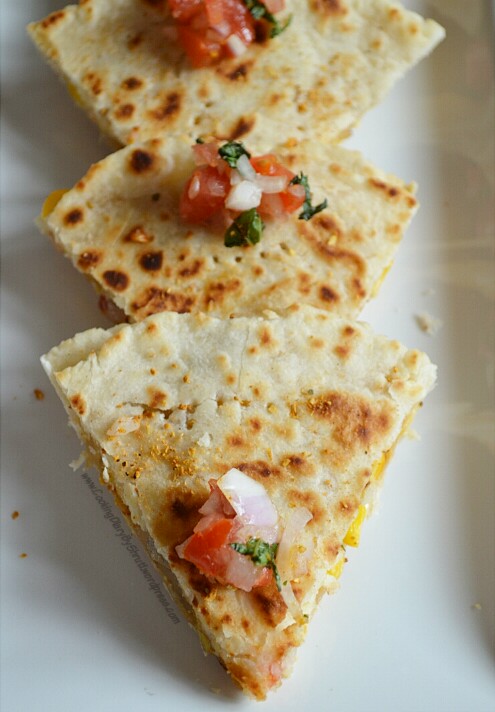
Cheesy Quesadilla with Salsa

LOVE ❤  Mexican Cuisine?

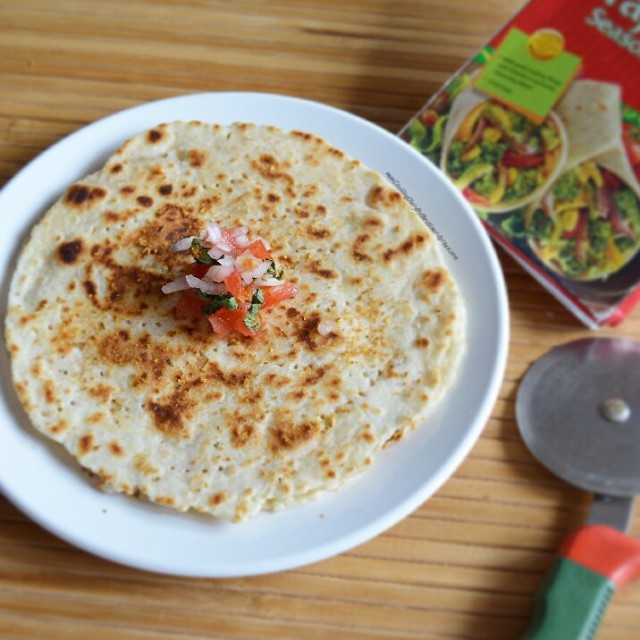
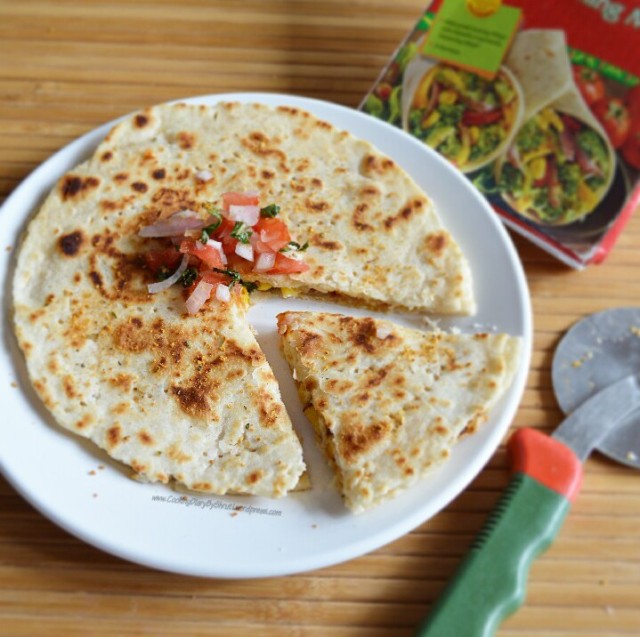
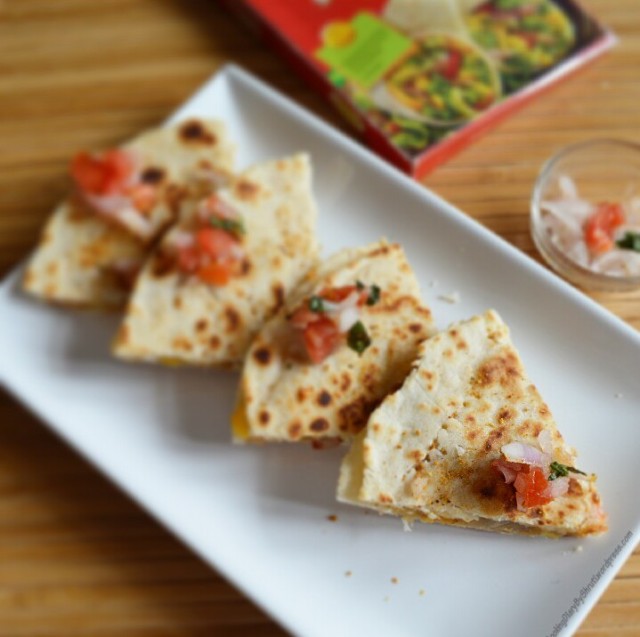
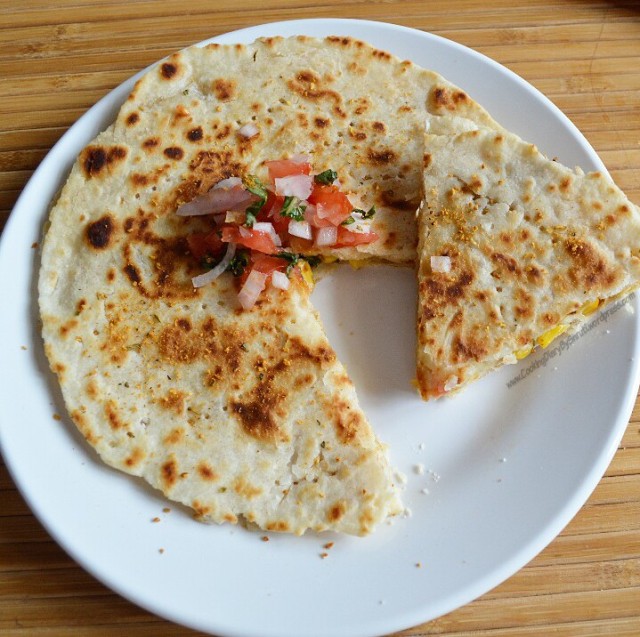
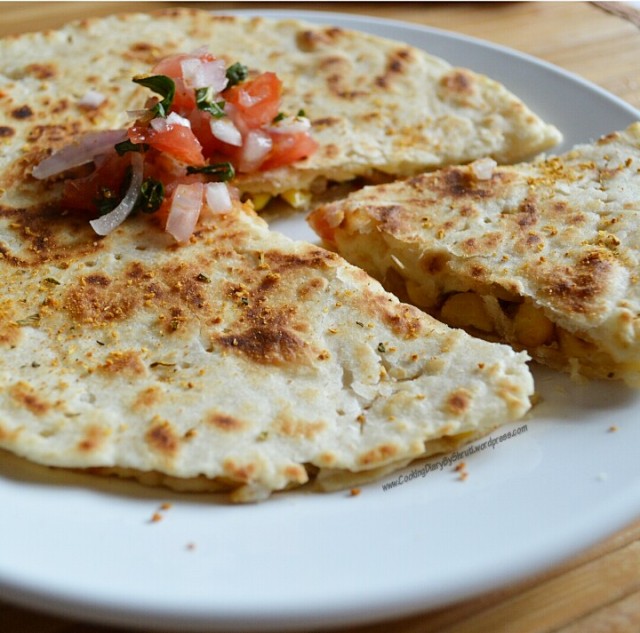
Try My Cheesy Quesadilla with Salsa and you will feel like a pro at making Mexican Food. Its really simple and gets ready in no time.

Screenshot_2014-08-20-00-38-06-1_wm

Screenshot_2014-08-20-00-42-29-1_wm

I love Mexican Cuisine. The reasons are quite obvious. I love spicy and cheesy food. Whenever we talk about Mexican Cuisine all that comes in our minds are Nachos, Tacos, Burritos, Mexican Rice, Mexican Salad, Fajitas, Sour Cream, Gucamole,  Salsa etc. Well is Mexican Cuisine all about this? Not really. There is a lot more to it. But these are some of the exclusive dishes which people do not eat everyday . Like here in India, whenever we go to restaurants we find Dal Makhni, Paneer ButterMasala, Naan etc on the menu..which is not something we Indians eat daily but these are our premium dishes. Similarly, when we talk about Mexican Cuisine we think of all these Premium Dishes. I am going to make all these with the course of time. To begin with I chose Quesadillas as they are my super favorite.

P.S- I Love Mexican Food because its Spicy.

Screenshot_2014-08-20-00-48-19-1_wm

Screenshot_2014-08-20-00-47-13-1_wm

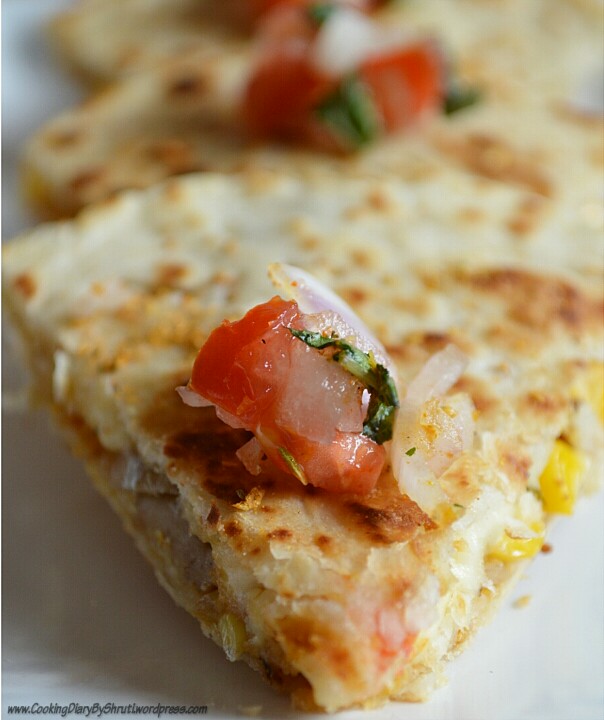
A quesadilla is a flour tortilla or a corn tortilla filled with  a savory mixture and lots of cheese and covered with another tortilla and cut into a pizza like shape. Quesadilla can be served with salsa, sour cream or simple plain. It has a lot of cheese including processed cheese, mozzarella cheese and yellow cheddar cheese. These enhance the flavor and texture of the dish. The filling however can be of your choice. You could go for a mix veg version or a paneer version. The choice is totally yours.

You can also call them as a Mexican style stuff pancakes, like a toasted sandwich, made with two tortillas sandwiched together with a cheese based filling. They are warmed through and meant to be served hot. Some people like to fry their quesadillas in oil, but I dont like it that way. It makes them extremely oily and unhealthy. I like to put them in a dry non-stick frying pan on a medium heat , so that after a minute or two you are left with a really crispy outside and an oozy stringy filling.

Screenshot_2014-08-20-00-44-33-2_wm

P.S- Quesadillas are really easy to make. If you are a beginner at cooking Mexican Food.. try these and you will be amazed with the way they turn out to be.

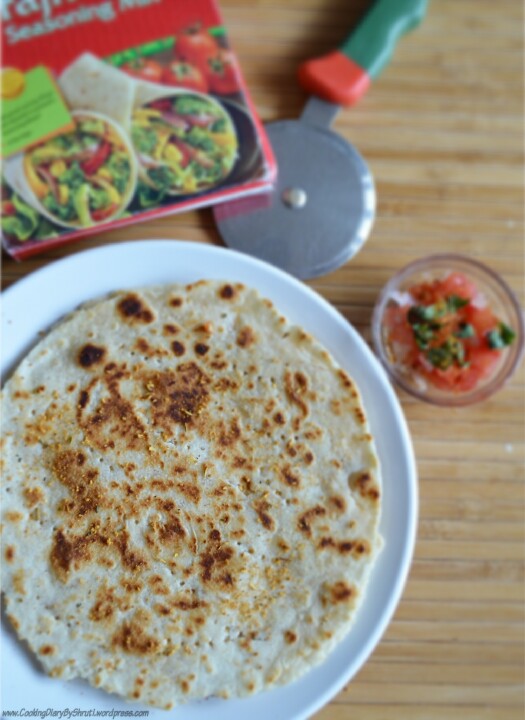
The Tortillas can either be ready to eat or you can make them at home. Its really easy. I prefer fresh home made tortillas. All you have to do is mix four ingredients- Flour, Salt, Oil and Water and form and dough. Roll it out and put them in a dry non-stick pan on medium heat and let it stay there for about a minute on each side & voila …your fresh homemade tortillas will be ready. They have a shelf-life for about a day or two. You just have to keep them covered.

Screenshot_2014-08-20-00-52-31-1_wm

The filling for the Quasedillas completely depends on your choice. I have prepared a basic cheese quesadillas with Corn, Tomatoes, Onion, Corn and lots of cheese. You can fill in any other combination of veggies you prefer. The choice is totally yours. However, for a classic version of Veg Quesadillas, Corn..Tomatoes..Green Chilli and Cottage Cheese is preferred.

Screenshot_2014-08-20-00-39-53-1_wm

RECIPE: CHEESY QUESADILLAS With  SALSA

Makes- 2 Quesaldillas

Prep Time-30 mins

Making Time- 10 mins

INGREDIENTS:

For Fresh Tortillas:

  • Flour- 1 1/2 cup
  • Oil- 1 Tbsp
  • Salt- 1/2 tsp
  • Water- As Required

For Salsa:

  • Onion- 1/2 cup Finely Chopped
  • Tomatoes- 1 Cup Finely Chopped
  • Green Chilli- 2 Finely Chopped
  • Cilantro- A handful Finely Chopped
  • Lemon Juice- 2 Tbsp
  • Salt- 1/2 tsp
  • Red Chilli Powder- 1/4th Tsp
  • Sugar- A pinch

For Tortillas Stuffing:

  • Cottage Cheese- 100 gms (Diced into small cubes)
  • Corn- 1/2 cup ( Boiled)
  • Tomatoes- 1 (Finely Chopped)
  • Onion- 1 (Finely Chopped)
  • Green Chilli-1 (Finely Chopped)
  • Mushrooms- 2 to 3 (Finely Chopped)
  • Salt- To Taste
  • Pepper- 1/4th Tsp
  • Chilli Flakes- 1/4th Tsp
  • Fajita Seasoning- 1/2 Tsp
  • Oil- For cooking
  • Processed and Mozzarella Cheese- 50 gms

PROCESS:

1. To make Fresh Tortillas, In a large bowl mix all the ingredients given under the Tortillas recipe and form a dough. Cover the dough with a wet cloth.

2. Heat oil in a pan, then add green chilli and onion. Saute for a min, then add corn, tomatoes, mushrooms, cottage cheese, salt, pepper, chilli flakes and fajita seasoning. Just cook them for about 2 mins.

3. Now,Evenly divide the dough into round chapati balls and  Roll out the dough similar to a chapati, and cook on a non- stick pan. Just cook for 1 min on each side. Cook all the tortillas and keep them aside.

4. Take a thin tortilla and spread the filling and top it up with cheese. Now put the second tortilla on top and press it to make it stick. Cook it in a non stick pan by pressing it on both sides till crisp.

5. Cut like pizza wedges and serve hot along with SALSA

6. For the Salsa, Mix all the ingredients under the Salsa heading and leave for 30 mins.

Your Cheese Quesadillas are now ready.

Screenshot_2014-08-20-00-50-12-1_wm

For any queries and collaborations contact me at : cookingdiarybyshruti@gmail.com

You can connect with me on FacebookInstagram and Pinterest for more regular updates.

If you cook or bake anything from Cooking Diary By Shruti…Please Share the Pictures on Instagram or Facebook and Tag @cookingdiarybyshruti. I would love to see them. Also I would feature it on my blog.

IMG_20140628_004634[1]


4.